Migrating a WordPress site is the process of transferring its contents and data from one location to another. Typically, this is done when you run into technical problems with your current hosting company, or if you move to a different hosting provider.
It’s up to you to decide on a WordPress hosting provider that will fulfill all your needs and expectations, and hopefully, you won’t need to move your website. However, if the need arises to migrate Migrating your site, understanding the basic steps involved will help make it less daunting.
In this article, we’ll go over the 8 main steps of migrating a WordPress website.
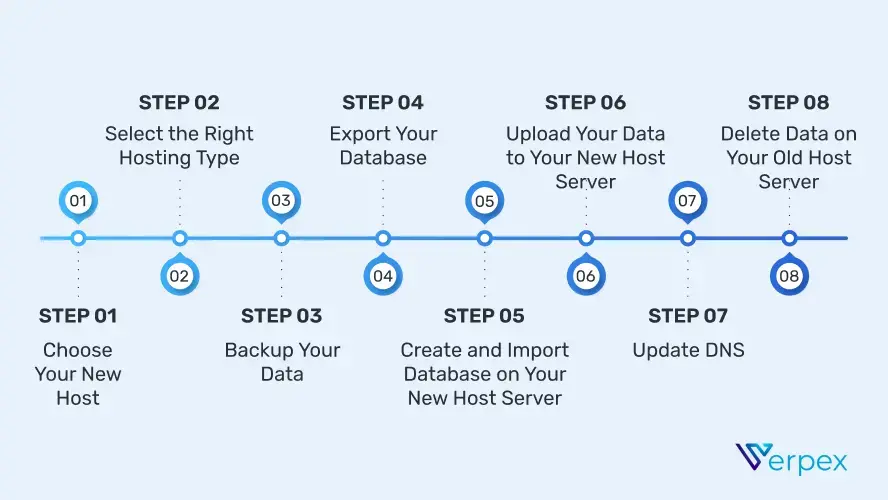
1. Choose Your New Host: Things to Look for In Your New Host
Storage
The size of your website's storage is based on a lot of factors. The number of images and videos posted, how many people might access the site at a given time and if the business frequently updates its content. All are important pieces of information to consider when choosing a hosting deal.
Uptime
There isn’t a more frustrating thing than clicking on a link and the site not opening. This does not only affect the returning user rate. It also affects Google, which starts giving that address less value in organic search results. Make sure that the provider promises at least 99% uptime for your site.
Loading speed
Google prioritizes the search results of fast loading pages, so choose a web hosting provider that will ensure your online presence has the best loading speed. Slow websites annoy visitors, but this is not just about aesthetics: slow sites also mean losing users and therefore, money.
Monthly traffic
There are some hosting providers that have a limit for monthly traffic. This means that if there are visitors above that monthly limit, the server will charge an additional fee or will not display your website. So, make sure that you get a hosting provider that will offer unlimited data traffic.
Customer support
Remember to look for a hosting provider that offers 24/7 support. You don’t want to run into an issue while you’re working on your website late at night and to realize that you have to wait until the next day in order to resolve that issue. Choose a provider with different methods of communication - telephone, chat, or ticket system.
2. Select the Right Hosting Type
There are a number of hosting options out there for any budget and website size — but what is the best hosting for your specific needs? The answer can be difficult without understanding the specifics of URLs, bandwidth, storage, and more.
If you’re new to the process of creating and running a site, the different hosting types can seem a bit confusing. Here’s a refresher of the main hosting types to make it easier for you when deciding which one you’re going to get.
Shared hosting
The most affordable and basic web hosting plan is shared hosting. Users who decide to use this type of hosting will have their website live on the same server as a number of other websites. Since the amount of bandwidth and storage you get is a fraction of what a full server can provide, shared hosting works for simpler sites.
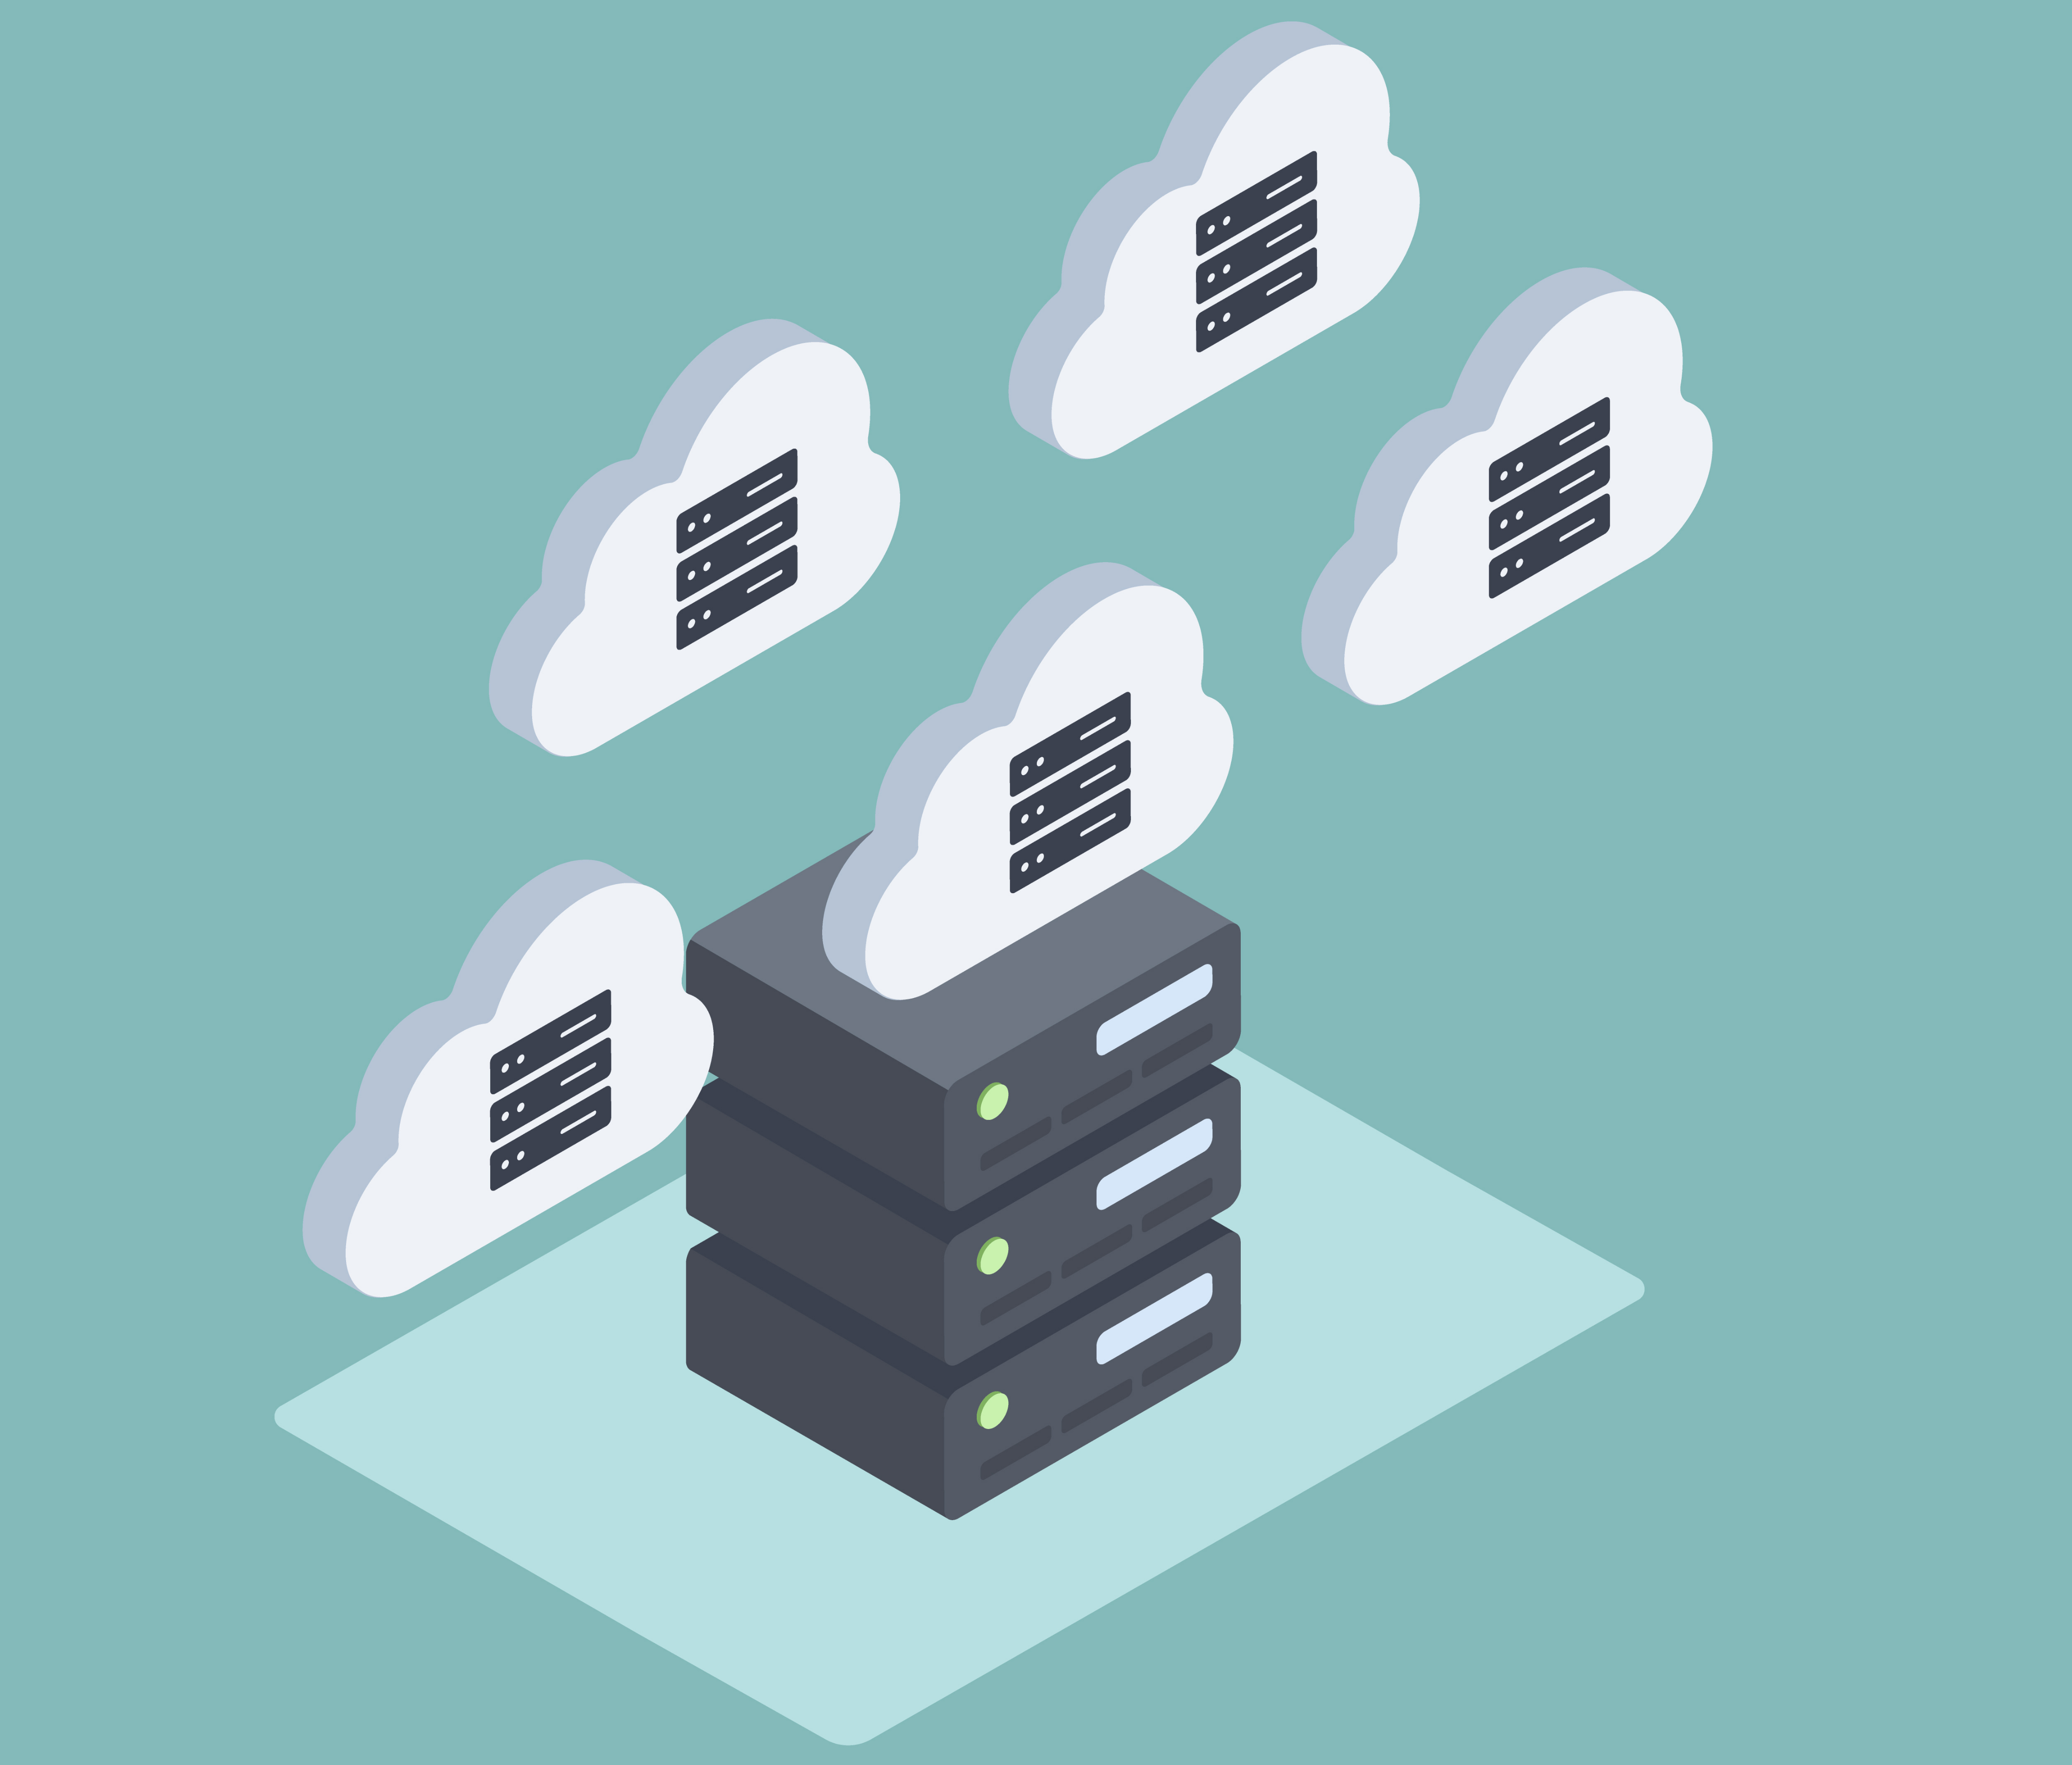
Cloud hosting
Cloud hosting takes place on “the cloud,” which isn’t one physical server but instead a bunch of connected servers that link together. By connecting a few servers, this type of hosting offers more storage space and power. The concept behind cloud hosting is probably familiar to you if you’ve used Google Drive or Dropbox. Cloud hosting plans are best for site owners who want to impress their visitors with fast load times without having the technical knowledge.
Managed WordPress hosting
Managed WordPress hosting is a great choice for anyone who has a WordPress site they would like to easily manage, keep secure and up to date without having to learn all the technical processes. With a Managed WordPress hosting plan, your hosting provider does the work, maintaining your site, and you save time and manpower.
3. Backup Your Data
Before migrating your site, you need to back up every aspect of it. Before any major change, this is a good practice to do, and this should be a part of your general WordPress security.
There are plenty of plugins to backup WordPress. With this type of plugin, you get to choose which files you want to be backed up, where those files will be stored, and how you want to back up your files.
One great plugin is the WPvivid plugin, which offers tons of options for backup splitting, scheduling, multisite support, and more.
4. Export Your Database
To export your database, all you need to do is sign up to the cPanel account and access the application called phpMyAdmin.
From the list on the left-hand sidebar, you need to choose the database that has your WordPress installation and then click on the Export tab on the navigation menu.
Leave the default settings of a SQL format and a Quick export.
Then, click the button Go, and the exporting process will start.
Finally, a file will be downloaded to your computer.

5. Create and Import Database on Your New Host Server
Sometimes you can't avoid a leak in your system — whether the cause is a full hard drive, an aggressive virus, or just a faulty hard drive, it's important to be able to restore data. This can be done in 2 simple steps:
Login to your new web host and connect to your cPanel account. To create a database, all you need to do is open MySQL Database and create a new database for your site.
Create a new MySQL user, and add this user account to the new database. Lastly, grant this user account All Privileges. Remember or write down the MySQL username and password, as well as the database name.
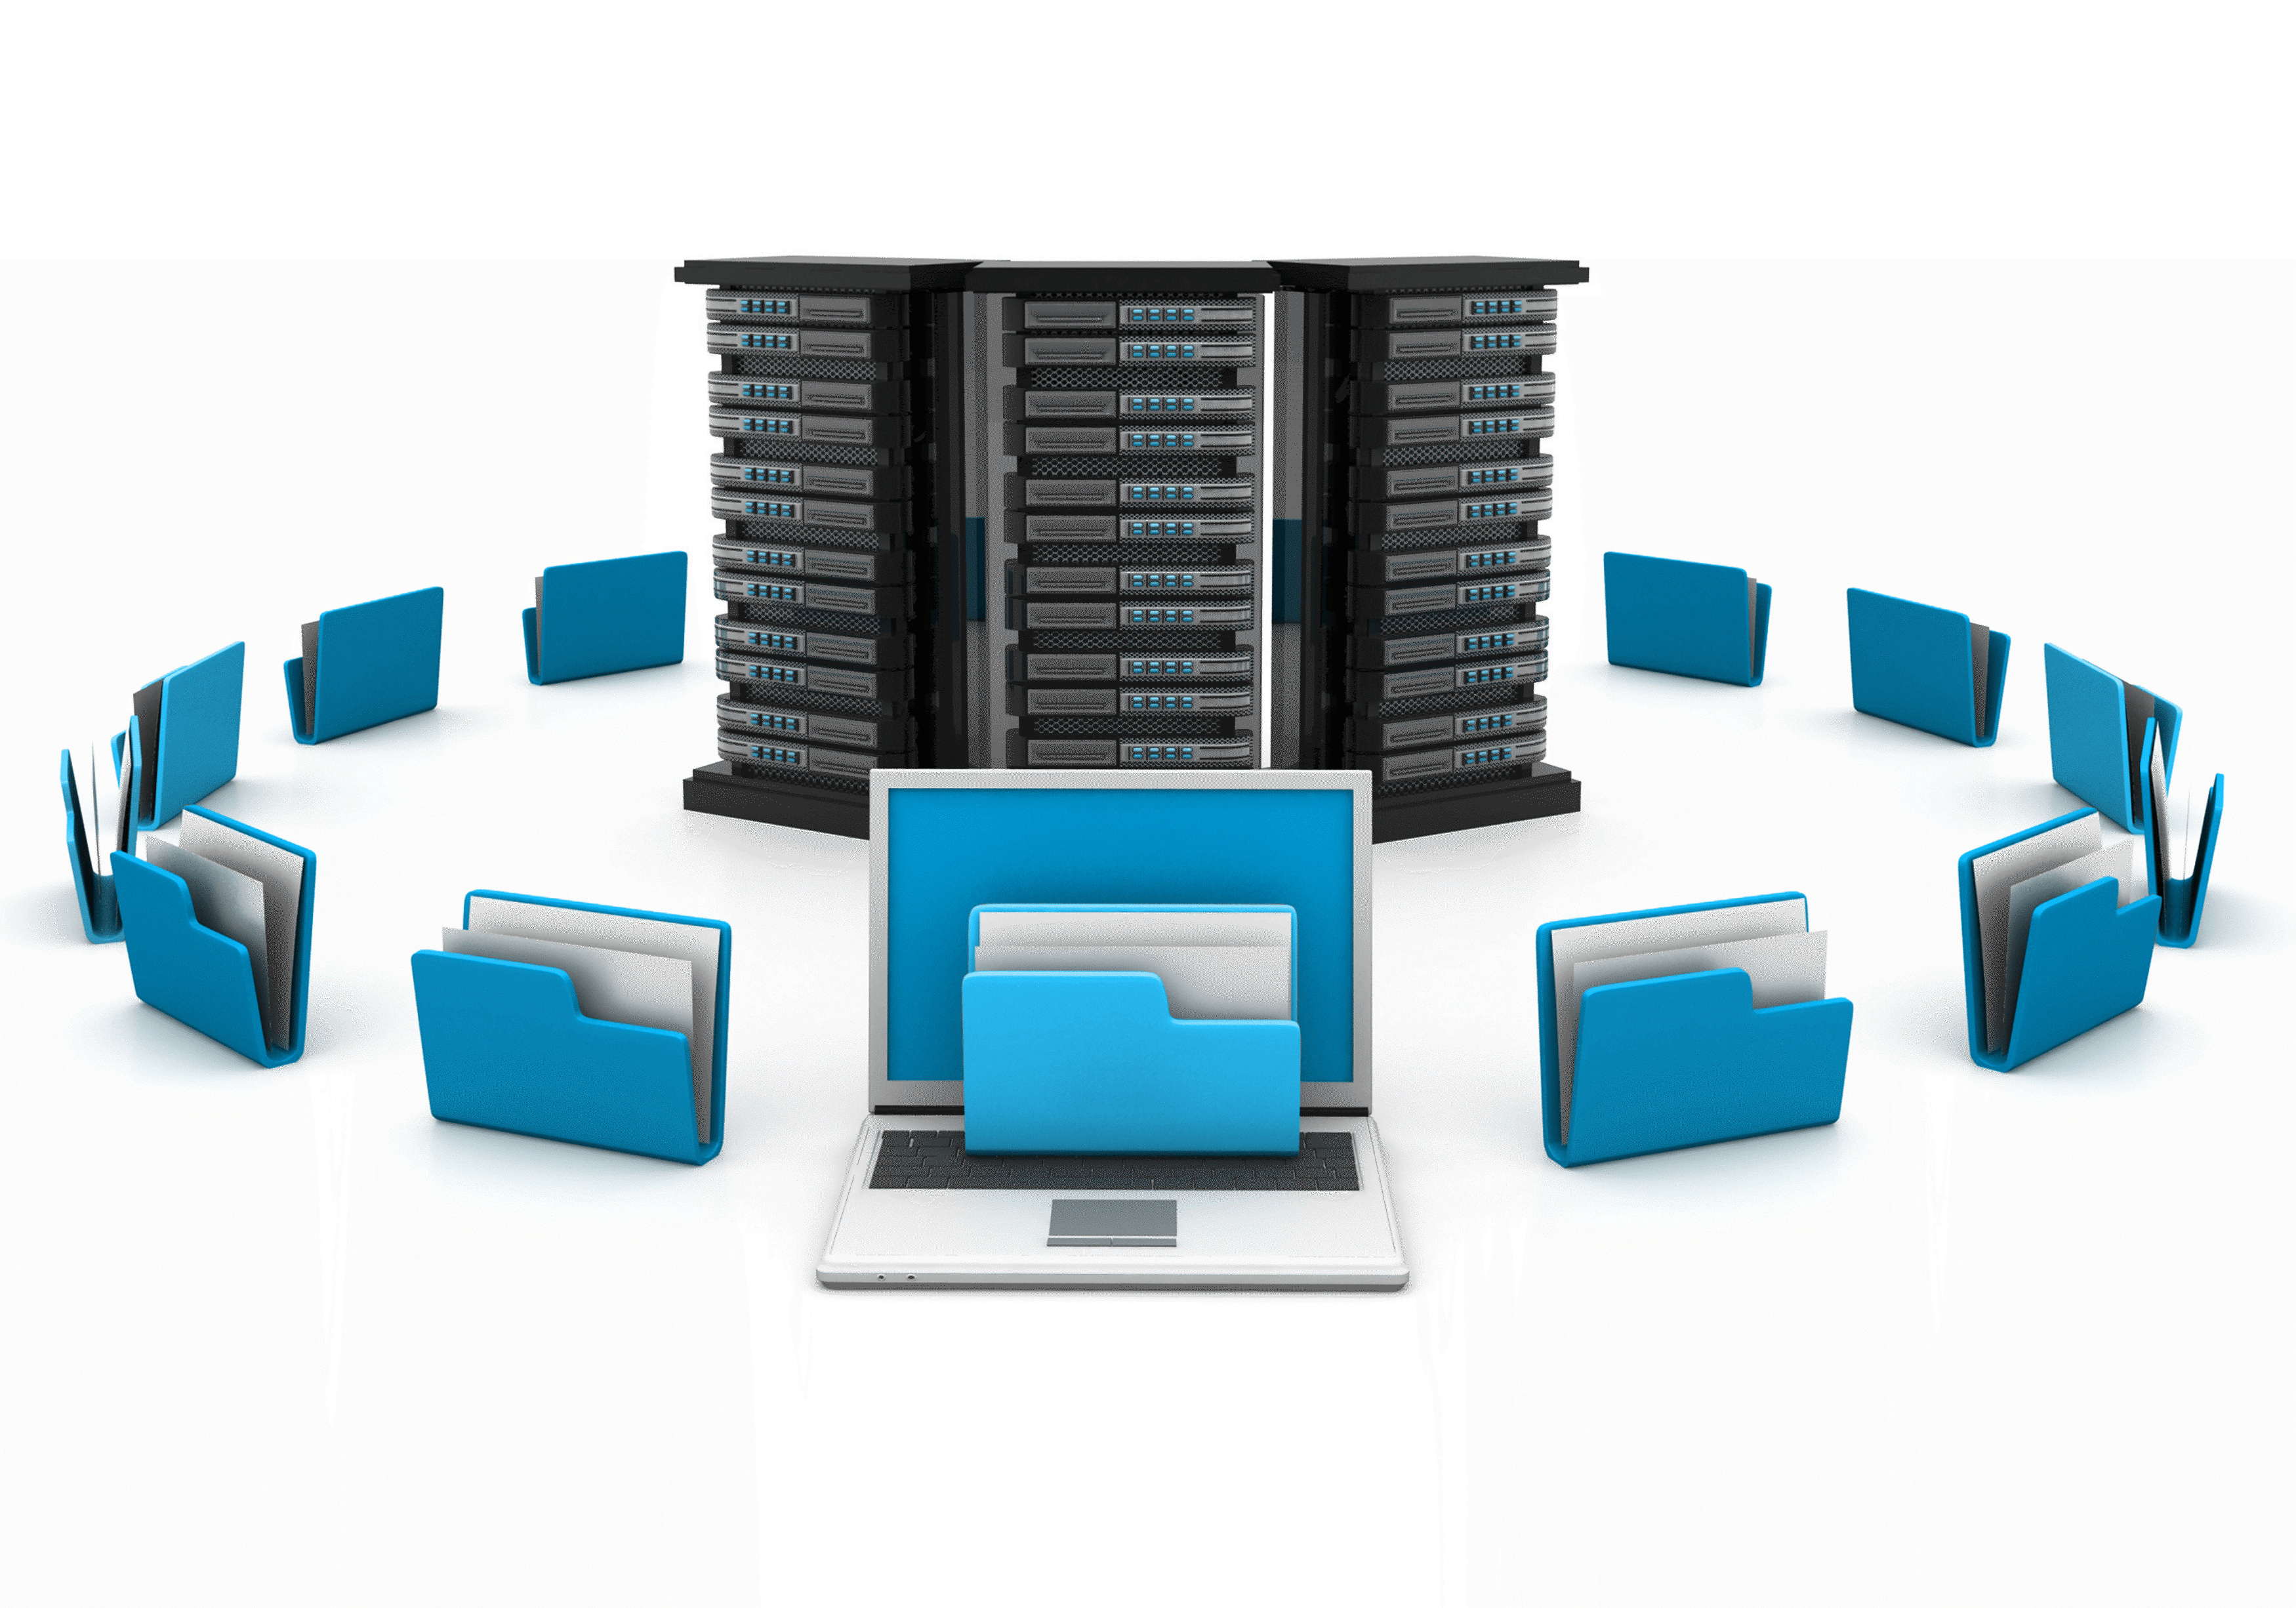
6. Upload Your Data to Your New Host Server
Now that you’ve gone through the previous steps, you can start uploading your data to the new web host. You can do this by using FTP and connecting to your new web host. It’s a protocol that uses different programs to transfer files. When you connect your FTP client, you normally enter the domain name of the website.
However, since your domain name is still pointing to your old house, you will need to connect by entering your server hostname or server’s IP address. All of this information can be found on the cPanel dashboard on your new hosting account.
Using the FTP client, you will need to upload your archive .zip file and installer.php to the root directory of your site.
7. Update DNS
Once you've set up your new hosting server and transferred your WordPress database to the new location, you'll need to update your DNS settings or "domain name servers." This will make sure that visitors can access your website without any problems.
Change the DNS settings of your domain to point to your new site instead of your own IP address. The hosting company usually determines this process, and most of them offer tools that automate this procedure.
8. Delete Data on Your Old Host Server
When you switch between hosting companies, our recommendation is that you keep your old website for at least a week to make sure the migration has been successful and avoid losing any important data.
After that period is completed, you can delete all the files from your old website hosting. The web hosting provider will delete all your data according to their policy in the event that you are canceling your account.
WordPress Plugins for Easy Migration
Below you can find some of the best migration plugins on the market:
- Duplicator – This is a free plugin that we highly recommend. It is a good tool for migrating, copying, and creating backups.
- BackupBuddy – BackupBuddy is one of the most popular backup and migration plugins for WordPress. It has a loyal customer base, and it has been around 2010. You can easily transfer your website using this plugin, and it comes with automated scheduled backups and migration features.
- VaultPress – VaultPress is a plugin that was developed by the same company that created WordPress. This plugin offers a “Restore to a Different Site” option that is used for the migration of sites.
- BlogVault – When it comes to backups and migrations, BlogVault is a trusted name in the community. It is among the most reliable and fastest WordPress migration plugins out there.
Summary
Learning how to migrate a WordPress site can seem like an intimidating task. But, as you can see, the steps of migrating a WordPress site are pretty straightforward and easy to follow. Carefully follow the steps below and you'll have your new site up and running in no time.
Even though the process is simple enough, before you try any of these methods, make sure you always make a backup of your WordPress website.
Frequently Asked Questions
What is migrate in WordPress?
WordPress migration, simply put, is the process of moving a WordPress site from one server to another.
What is the best WordPress migration plugin?
Some of the best WordPress migration plugins are Bluehost Migrator, Migrate DB Pro, BackupBuddy, Migrate Guru, JetPack, Duplicator, and more.
How do I transfer my WordPress site for free?
There are many WordPress Migration plugins that are free, including WP Staging, Duplicator, All-in-One Migration, WPvivid Backup, Migrate Guru, and many more.
How long is WordPress migration?
A WordPress migration process should only take a few hours. This is valid for cases where there aren’t any technical issues that will affect the migration.

I've been navigating the web hosting waters for years now. As the Chief Editor at Verpex, I team up with some awesome writers to dish out the good stuff on hosting. Got a Master's in Journalism, so I always have an eye out for quality. Whether you're just dipping your toes or you're a seasoned surfer, I'm here to make everything web hosting feel like a breeze
View all posts by Julia Lozanov