Controlling access to your WordPress content is crucial for various reasons, from offering exclusive member benefits to protecting sensitive information. While WordPress offers basic user roles, these may not provide all of the control you need. In this article, you'll learn one of the best methods on how to restrict content on WordPress, allowing you to tailor access to specific users or groups.
Reasons why you’d need to restrict content for specific Users
Here are some of the reasons why you’d probably want to restrict content on WordPress to specific users:
- Membership Site Management
- Protecting Sensitive Information
- Creating Exclusive Content for Specific Groups
- Implementing a Learning Management System (LMS)
- Offering Personalized Experiences
- Managing User Roles and Permissions
- Controlling Access to Downloadable Resources
- Hiding Content During Development or Maintenance
- Running Contests or Giveaways
- Complying with Legal or Regulatory Requirements
Membership Site Management
If you run a membership site, you'll likely have different tiers of access. Restricting content allows you to offer exclusive articles, downloads, or videos to paying members while keeping other content open to free or trial users. This tiered access is a core function of membership platforms.
Protecting Sensitive Information
Perhaps you have confidential business data, internal documentation, or private client information stored on your WordPress site. Restricting access ensures that only authorized personnel or clients can view these sensitive materials, protecting them from unauthorized disclosure.
Creating Exclusive Content for Specific Groups
You might want to offer specialized content for specific groups of users, like students in a particular course, members of a specific organization, or beta testers for a new product. Content restriction allows you to tailor the user experience and provide relevant information to each group.
Implementing a Learning Management System (LMS)
In an LMS context, you might have different courses or modules with varying levels of difficulty. Restricting access allows you to control the learning path, ensuring students complete prerequisites before moving on to more advanced material. This also prevents students from accessing content they haven't paid for.
Offering Personalized Experiences
By restricting content based on user roles or profiles, you can create a more personalized experience. For example, you could show different advertisements, product recommendations, or news updates to different user segments, increasing engagement and relevance.
Managing User Roles and Permissions
WordPress has built-in user roles, but sometimes you need more granular control. Restricting content allows you to fine-tune permissions beyond the default roles, preventing certain users from accessing or editing specific pages, posts, or other content types.
Controlling Access to Downloadable Resources
You might offer premium downloads like ebooks, software, or templates. Restricting access ensures that only paying customers or authorized users can download these resources, protecting your intellectual property and revenue streams.
Hiding Content During Development or Maintenance
While you're working on new pages or features, you might want to keep them hidden from the public. Content restriction allows you to stage your work on the live site without it being visible to regular users.
Running Contests or Giveaways
You could offer exclusive content or bonuses to participants in a contest or giveaway. Restricting access ensures that only eligible users can access these special offers.
Complying with Legal or Regulatory Requirements
Certain industries have regulations regarding the handling of sensitive data. Restricting content can help you comply with these regulations by controlling who can access and interact with specific types of information. This is especially important for data privacy and security.
Understanding User Roles in WordPress
WordPress comes with six default user roles, each with a specific set of permissions. Before restricting content on anyone, here's a breakdown of each role and what they can do:
- Super Admin
- Administrator
- Editor
- Author
- Contributor
- Subscriber
Super Admin
This role has complete control over the entire WordPress network (if you're using WordPress Multisite). They can install, activate, and delete plugins and themes, manage users on all sites, and even delete entire sites within the network. Think of them as the ultimate site administrator. This role is only relevant in a Multisite setup.
Administrator
Administrators have full control over a single WordPress site. They can manage posts, pages, users, themes, plugins, settings, and everything else within that site. They have almost the same level of access as a Super Admin, but only for one site
Editor
Editors can publish and manage posts and pages, including those of other users. They can also manage categories and tags. They have a high level of content control but cannot change site settings or install plugins/themes.
Author
Authors can publish and manage their own posts and pages. They can also upload files and manage comments on their own content. They have less control than Editors, focusing primarily on their own contributions.
Contributor
Contributors can write and edit their own posts, but they cannot publish them. Their work needs to be reviewed and published by someone with a higher role (like an Editor or Administrator). They can also upload files, but not necessarily use them directly in posts until approved.
Subscriber
Subscribers have the most limited access. They can only manage their profile information. They typically subscribe to receive updates or notifications from the site but cannot create or edit content. This role is often used for membership sites or email list building.
While these are the default user roles in WordPress, you can also create new names for user roles or adjust their level of being able to contribute or interact with the site.
How to Restrict Content on WordPress to Specific Users

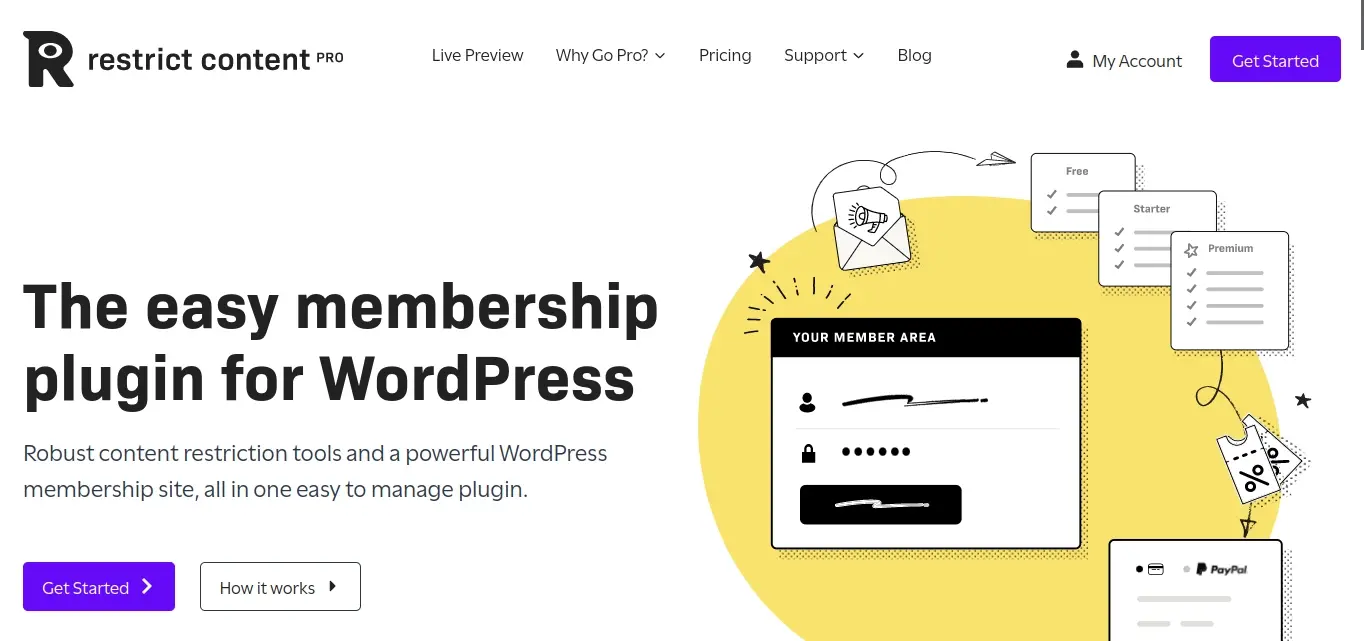
Restrict Content Pro is a powerful premium WordPress plugin that allows you to control who can access your content. Here's a step-by-step guide on how to use it to restrict content to specific users:
- Install and activate Restrict Content Pro
- Create membership levels (optional)
- Choose your restriction method
- Restrict content on a post or page
- Restrict content using shortcodes
- Customize restriction messages
- Explore additional features
- Test Your Site
Step 1: Install and activate Restrict Content Pro
- Go to your WordPress dashboard and navigate to Plugins > Add New > Upload.
- Once installed, click Activate.
Step 2: Create membership levels (optional)
If you want to restrict content based on membership levels, go to Restrict > Membership Levels and create the levels you need (example - Free, Premium, VIP).
Step 3: Choose your restriction method
Restrict Content Pro offers several ways to restrict content:
By membership level: This allows you to restrict content to members of specific membership levels.
By user role: This allows you to restrict content to users with specific roles (example - Administrator, Editor, Author).
By individual user: This allows you to restrict content to specific users, regardless of their membership level or role.
Step 4: Restrict content on a post or page
- Go to the post or page you want to restrict.
- Scroll down to the "Restrict This Content" section.
- Choose your restriction method from the dropdown menu.
- Select the specific membership levels, user roles, or users you want to grant access to.
- Click Update to save your changes.
Step 5: Restrict content using shortcodes
Restrict Content Pro also provides shortcodes that you can use to restrict specific parts of your content. Here are some examples:
[restrict]This shortcode restricts the content within it to all logged-in users.[restrict userlevel="editor"]This shortcode restricts the content within it to users with the "Editor" role or higher.[restrict paid="true"]This shortcode restricts the content within it to users with an active paid subscription.
Step 6: Customize restriction messages
You can customize the message that users see when they try to access restricted content. Go to Restrict > Settings > General to change the default restriction message.
Step 7: Explore additional features
Restrict Content Pro offers a variety of other features, such as:
Drip content: This allows you to release content to members over time.
Content expiration: This allows you to set an expiration date for restricted content.
Integration with other plugins: Restrict Content Pro integrates with popular plugins like WooCommerce and Easy Digital Downloads. The integrations for these are pro add-ons.
Step 8: Test Your Site
Once you’ve adjusted all the pages and the settings for Restrict Content Pro, it’s important to test your site. You can use a plugin like User Switching to view the site with different users that have different roles.
By following these steps, you can effectively restrict content on your WordPress site to specific users using Restrict Content Pro.
Now, there are other plugins that also allow you to restrict content. Some are specifically built in with membership plugins like MemberPress or Ultimate Member.
In Summary
Restricting content in WordPress allows you to control who sees what on your site, offering exclusive content, protecting sensitive information, or creating membership-based access. This can be achieved through various methods, including built-in WordPress roles, specialized plugins, and even custom code solutions. Choosing the right approach depends on your specific needs and technical expertise, ranging from simple role-based restrictions to highly granular control over individual user access.
Frequently Asked Questions
Is WordPress free for students?
WordPress is free. Besides buying a domain, the only initial cost is for hosting.
What is the best WordPress migration plugin?
Some of the best WordPress migration plugins are Bluehost Migrator, Migrate DB Pro, BackupBuddy, Migrate Guru, JetPack, Duplicator, and more.
Can I use WordPress with any hosting
WordPress can generally be used with most hosting providers, as long as the hosting meets the minimum requirements for running WordPress.
Is coding knowledge required to use AI WordPress plugins?
No, most AI WordPress plugins are designed for users without technical expertise, featuring drag-and-drop interfaces and easy setup processes.
Can you make a WordPress website without paying?
Yes, you can create a free WordPress site using WordPress.com with limited features and a subdomain (e.g., yoursite.wordpress.com).

Nile Flores is a long time professional blogger, as well as WordPress website designer and developer from the St. Louis Metro East. Nile blogs at NileFlores.com, where she’s passionate about helping website owners, whether they’re small business owners or bloggers. She teaches about Blogging, Social Media, Search Engine Optimization, Website Design, and WordPress. Additionally, Nile loves to speak at WordCamps (WordPress conferences) across the United States. When Nile isn’t knee-deep in coding, she’s a proud mom of a college student, and enjoys oil painting, cigar smoking, nail art design, and practicing traditional Okinawan kempo karate.
View all posts by Nile Flores


