I’d say it’s safe to assume that, in 2022, we all accept that the smaller a website is, the better it will perform. Smaller websites load faster, rank higher in Google and other search engines, which ultimately results in greater user engagement and sales. The challenge is, however, many people expect modern websites to be full of beautiful, high-resolution images, videos, and anything else that holds the users attention.
Sure, we can build sites like that, but they come at a cost. The more images that a site or a page contains the larger the payload will be. Perhaps because of this, perhaps also because of laziness, average website size has been steadily growing over the last several years. So much so that in 2022, according to SEO Optimer, the average website size is 2.2 MB for a desktop site, and 2 MB for a mobile.
“What’s wrong with that?”, you might ask. Everybody had a fast broadband connection after all. Well, if that was your assumption you’d be wrong. According to Our World in Data, around the world, on average, only 15.89 people per 100 have access to fast broadband. To put that into more context, “fast broadband” is defined as “at downstream speeds equal to, or greater than, 256 kbit/s”.
GIven that, only a minority of your users will actually have a decent broadband connection. The rest will have one that is average at best. Without diving too deep into the data, I hope it goes without saying that the smaller your website, the more people you’re actually going to reach.
Question is, how do you do that, while still using great quality images on your site? Well, the first thing is to optimize your images for better performance.
In this article, I’m going to step you through a range of tools that you can use, regardless of your operating system or preference for desktop or command line. That way, you’ll be trimming the fat from your images, yet retaining their high quality.
Command-line image optimization tools
Let’s start off with the command line, as it’s the best place to automate the optimization process and look at three tools: optipng, jpegoptim, and cwebp.
optipng
optipng, as the name suggests, optimizes PNG files, or, to quite the documentation:
Attempts to optimize PNG files, i.e. reduce their size to a minimum, without losing semantic information (and quality).
The tool can make a number of changes to an PNG file in an attempt to reduce its size, including stripping metadata, cutting one image out of multi-image animation or video file, along with bit depth, color type, and palette reduction.
Speaking from experience, it does an excellent job of reducing file size while maintaining quality, if you run it without any options. However, if you want to be more aggressive check out the documentation for the full set of supported options.
If you’re interested, I used it to optimize all of the images in this article and achieved an average file size reduction of 19,96%.
jpegoptim
Where optipng optimizes PNG files, jpegoptim optimizes and compresses JPEGs. Quoting the documentation:
jpegoptim is used to optimize/compress jpeg files. Program supports lossless optimization, which is based on optimizing the Huffman tables. And so called "lossy" optimization where in addition to optimizing Huffman tables users can specify an upper limit for image quality.
It also does an excellent job of reducing file size yet retaining image quality by default, but supports a large number of options if you want to be more aggressive.
cwebp
cwebp is a little different from the others. Instead of optimizing and compressing a JPEG or PNG file, cwebp converts an image to WebP format. If you’re not familiar with the format, it was designed by Google as a successor to JPEG, PNG, and GIF formats and released in 2018.
While that’s still relatively recent, the latest version of all major browsers support the format. The format and tool support converting images either lossy or lossless, depending on your needs, in addition to a number of other tuning options, such as the compression factor, resizing an image to a rectangle, and cropping the source image.
Web-based image optimization tools
Now, let’s have a look at a number of web-based tools.
TinyPNG
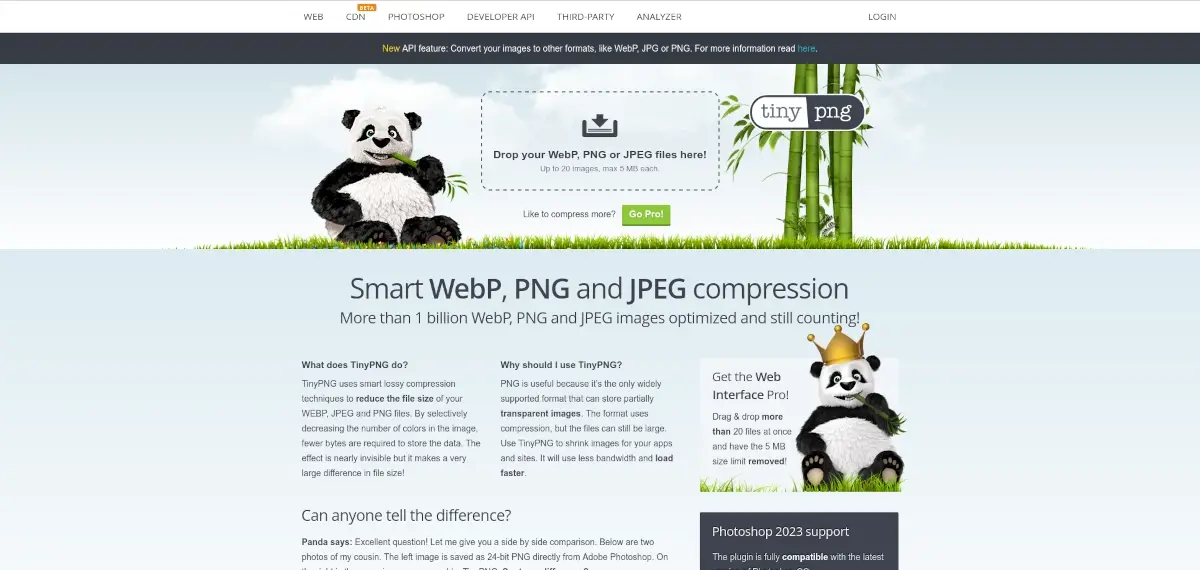
First up is TinyPNG. The site supports compressing WebP, JPG, and PNG (both still and animated) files. Quoting the site:
TinyPNG uses smart lossy compression techniques to reduce the file size of your WEBP, JPEG and PNG files. By selectively decreasing the number of colors in the image, fewer bytes are required to store the data. The effect is nearly invisible but it makes a very large difference in file size!
You can drag and drop images (up to 5 MB in size) one at a time to compress them. Alternatively, for $39 USD per year, you can drag and drop more than 20 images at a time, with an increased file size limit of 75 MB.
TinyPNG also supports an API along with wrapper libraries in PHP, Ruby, Node.js, Python, Java, and .Net if you want to programmatically compress images, such as part of a deployment process or other tooling automation.
Compressor.io
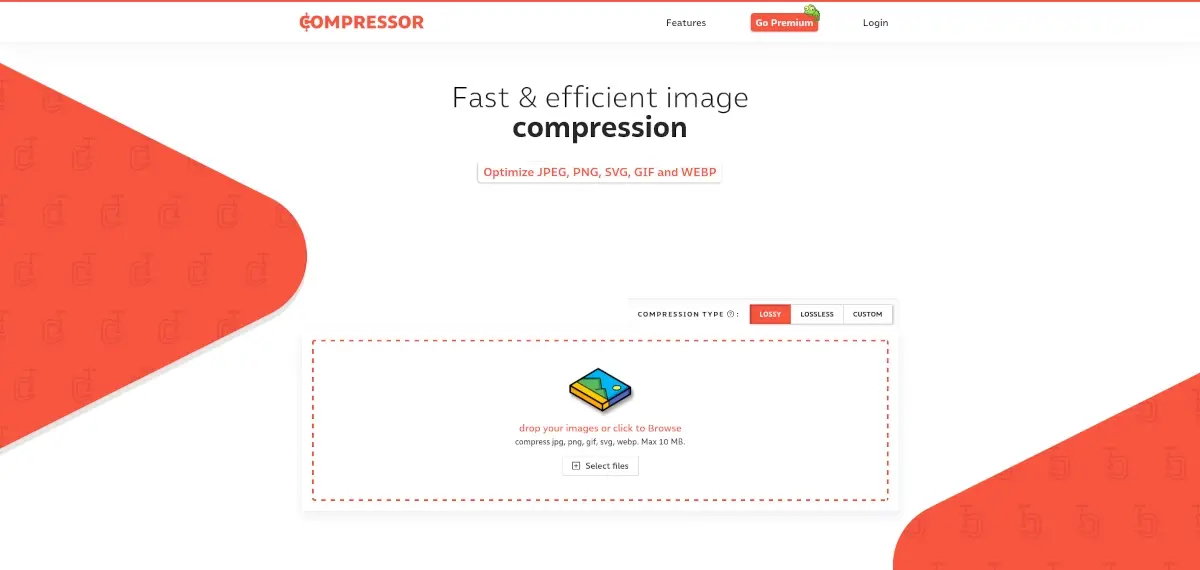
Similar to TinyPNG, Compressor.io optimizes JPEG, PNG, and WebP files, as well as SVGs and GIFs. What’s more, you can choose either lossy or lossless compression for the best result, or choose a custom compression configuration, if your needs are quite particular. All you need to do is drag and drop images onto the site for them to be compressed.
Images are limited to 10MB in size and you can only compress 50 images per day. However, with a Pro account the maximum file size is increased to 20 MB and there is no limit to the number of image compressions allowed. What’s more you can also select the compression quality, resize images, and auto-rename files.
Desktop image optimization apps
Last but not least, let’s finish up by looking at a number of excellent desktop image compression applications.
ImageOptim
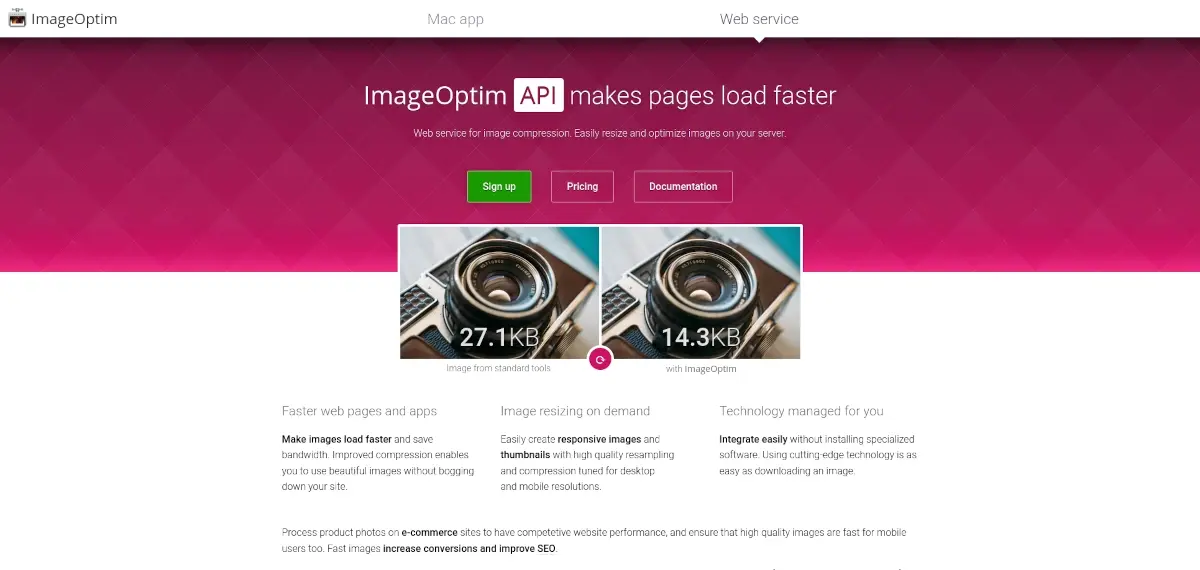
Available for macOS, ImageOptim was my go-to image compression tool for many years because it just works. After installing it, all you need to do is open a selection of files with ImageOptim, or drag and drop any number of images onto the app for them to be compressed.
Here’s what MacWorld has to say about it:
it’s brain-dead simple to use, and it does just what it promises
The app works by, as the site says “Seamlessly combines all the best image optimization tools: MozJPEG, pngquant, Pngcrush, 7zip, SVGO and Google Zopfli.”. Given that, it can compress PNG, JPEG, GIF files.
Finally, all of these tools – as well as ImageOptim itself – are open source. So if you’re sufficiently skilled, you can contribute to the project.
Optimage.app (macOS)
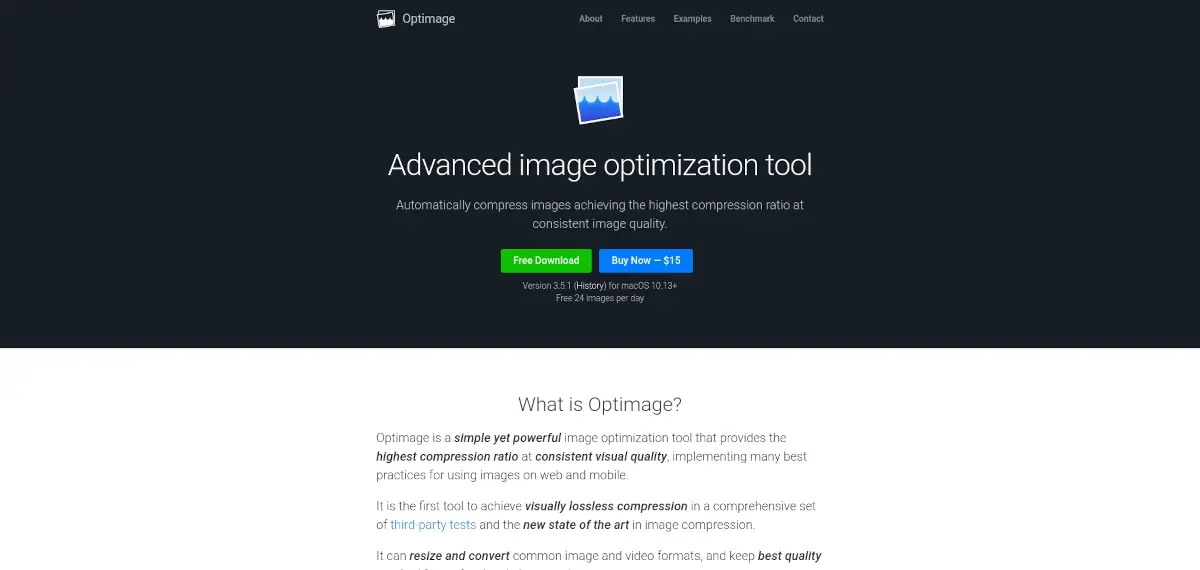
Similar in nature to ImageOptim, Optimage.app is a drag-and-drop tool for macOS which can compress and optimize JPEG, PNG, GIF and WebP files. What’s more, it can also compress APNG, HEVC, MP4, WebM and AV1 files, if your site includes video content.
Quoting the website:
It can resize and convert common image and video formats, and keep the best quality required for professional photography. It is designed to make automatic image optimization accessible and inclusive to everyone.
You can download it for free and compress and optimize up to 24 images per day. Alternatively, you can buy a copy for $15 USD and then compress and optimize as many files as you want.
The site’s feature list is extremely impressive. So it might well be worth a look.
JPEGmini (Microsoft Windows, Linux, and macOS)
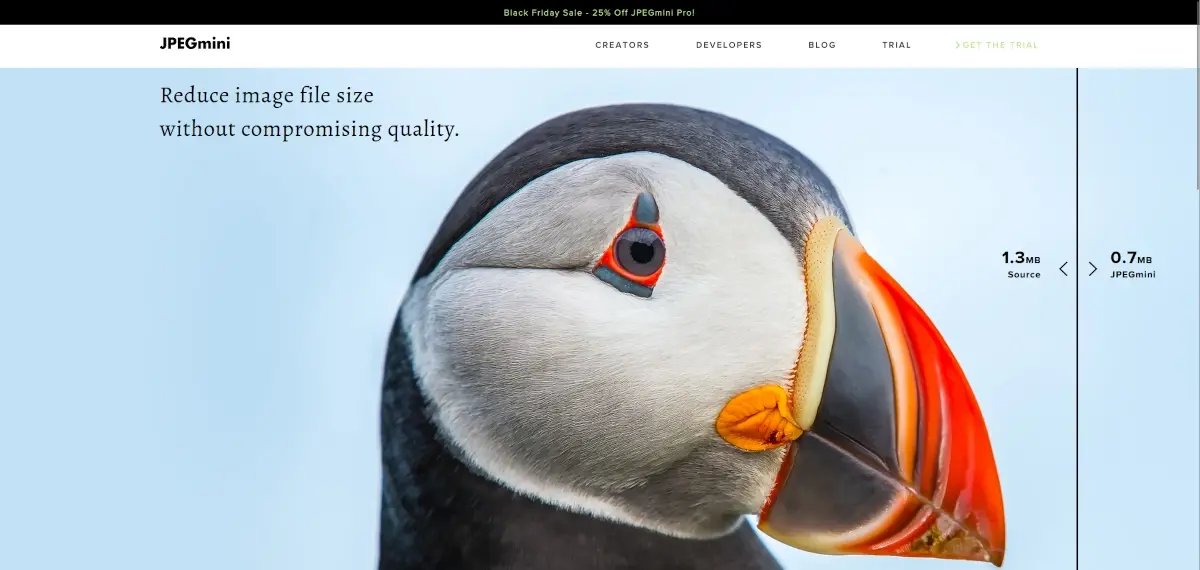
Next up is JPEGmini. This is an interesting one as it comes in two formats: Creator and Developer.
The Creator version comes in the form of a standalone app, as well as a Lightroom and Photoshop plugin. So, as they say, “it fits into your workflow”.
The Developer version, on the other hand, can integrate into servers, web, and mobile apps. Given that, you can integrate it as part of a deployment workflow, via WebAssembly to optimize images in your web-based application, and optimize images locally on a given mobile device.
While focused on JPEGs, the site says that:
Using patented image optimization technology, JPEGmini reduces the file size of your photos significantly (up to 80%), while preserving their full resolution and quality.
In addition to this, the Pro version supports the following excellent features:
- Supports high-resolution photos from the world's leading camera brands.
- Converts iPhone HEIC photos to optimized JPEG files.
- Selects different output sizes for the same folder of photos in the same session.
- Multiple resizing presets and modes to allow for a robust delivery workflow.
That’s quite impressive. As for pricing options, you can get a free trial, or buy a license for either the standalone app ($44 USD), or Pro Suite ($66 USD). The licenses are valid forever and include a year of updates.
Final Thoughts
Those are several apps to optimize your website’s images for best performance. They solve the question of how you build media rich sites which have payloads that are as small as practically possible. Through one or a combination of the tools covered in this article, you’ll be able to optimize all your images, either manually or automatically as part of your standard deployment workflow.
Which tool are you most interested in?
Having an optimized website with properly-sized images is important for a great user experience, but it's also important to ensure that the hosting solution you choose is reliable and up to the task.
Check out Verpex cloud web hosting plans to get the power and performance you need for a successful website.
Frequently Asked Questions
Is WordPress free?
All you need to do to use WordPress is to invest in a web hosting plan since the software itself is free.
Is a WordPress blog free?
Anyone can download, use, customize, and edit the WordPress code as long as they release it under the GNU General Public License (GPL). Even though the software is free, you can end up paying for things like premium support and hosting.
How much does a WordPress blog cost?
One of the main costs for running a WordPress blog is hosting, while other common costs include domains if they aren’t included in the hosting package and paid themes and plugins. WordPress pricing is between $11 and $40 per month.
How do I get help with my WordPress site?
There’s never a moment we won’t be here to support the development of your website and your business. Unlike many of our competitors, we’re online 24/7, providing support to our users whenever they need it. We provide a live chat experience so we can quickly communicate in real time, meaning you can swiftly get back to enhancing your customers’ experiences.

I’m a software developer with over 15 years of experience, designing, developing, and deploying web-based applications. I’m also an experienced online educator, technical writer, and trainer, having written over 150 articles, published 3 books and 6 online courses, and launched two podcasts in the last ten years. The author of Mezzio Essentials and Deploy With Docker Compose.
View all posts by Matthew Setter


