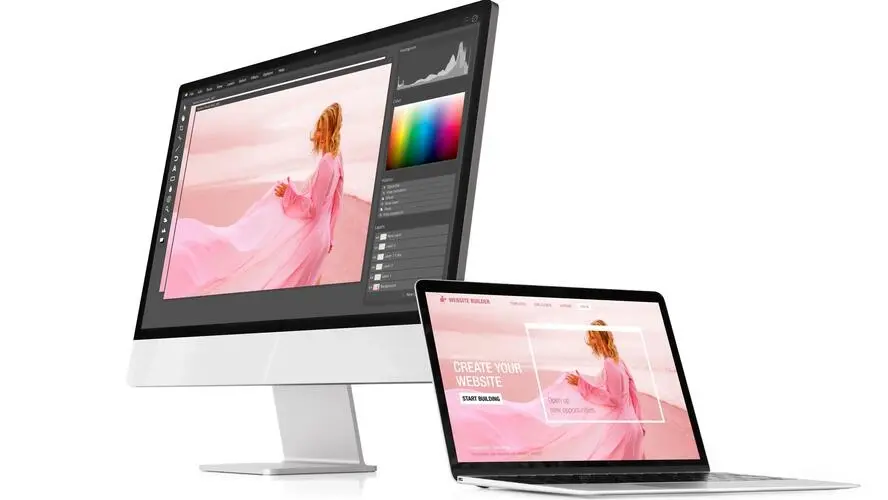
Creating a web layout in Photoshop can feel like a daunting task. After all, there are a lot of elements that go into a well-designed website. But don't worry! Creating a web layout is actually quite simple if you break it down into smaller steps.
In this tutorial, we'll walk you through the process of creating a basic web layout in Photoshop. We'll start by setting up our document and creating a header. Then we'll add some content. Finally, we'll add a footer and some finishing touches.
Ready to get started? Let's go!
1. Set Up Your Document
First things first: set up your document. Typically, you'll want to create a new Photoshop document with the following settings:
Width: 1200px
Height: 1500px
Resolution: 72ppi
Color Mode: RGB
Before we move on, let's explore the process of setting dimensions a bit more.
Choose the Right Dimensions for Your Web Page
When it comes to designing an effective web page, it is important to carefully consider the dimensions of your layout. Too small and your content might be difficult to read, whereas too large and you risk overwhelming your visitors with too much information at once.
Ultimately, the right dimensions will depend on the nature of your content and the goals of your website. If you are designing an intricate infographic or a portfolio filled with images, then you may want a larger canvas in order to give these visual elements space to breathe.
To set these dimensions in Photoshop, you simply need to set them when creating a new file
2. Use Gridlines to Create a Professional Look
When it comes to creating a polished, professional look, nothing compares to the impact of gridlines. They provide the guidance you need to ensure your website elements are aligned and spaced properly.
Gridlines are one of the most important tools in this process. These lines help you to organize your content and create clear divisions between different sections. They also add visual interest by breaking up large blocks of text into more manageable chunks.
To use gridlines in Photoshop when creating a web layout, simply select the Edit menu and then click on Preferences > Guides & Grid. From here, you can choose to show gridlines either as a solid color or as a series of dots. Once you have the gridlines enabled, you can use them to help position your content exactly where you want it.
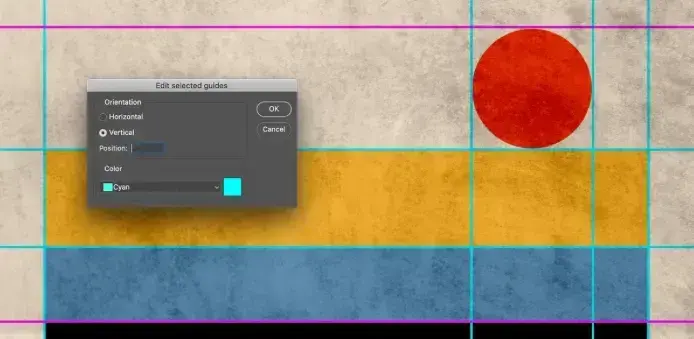
You can also edit guides and grids you’ve previously created in Photoshop as of summer 2022. These changes allow for keyboard edits to grids and guides. Plus, you can change their color, orientation, size, and starting position.
Organizing your content into neat, easy-to-read sections will not only make it more visually appealing, but it will also make it more user-friendly. You can then use these lines to create each of your website sections so they fit neatly within a standard screen size.
3. Set Up Your Background
To create a beautiful and engaging background for your website or digital project, you need to start with the right color scheme and texture. First, consider the overall mood of your design. Are you going for something bold and dramatic, or are you trying to set a more relaxed tone? Then, choose a primary color that complements the mood you're trying to convey. For example, if you're looking for a happy feeling, try incorporating shades of yellow in your background.
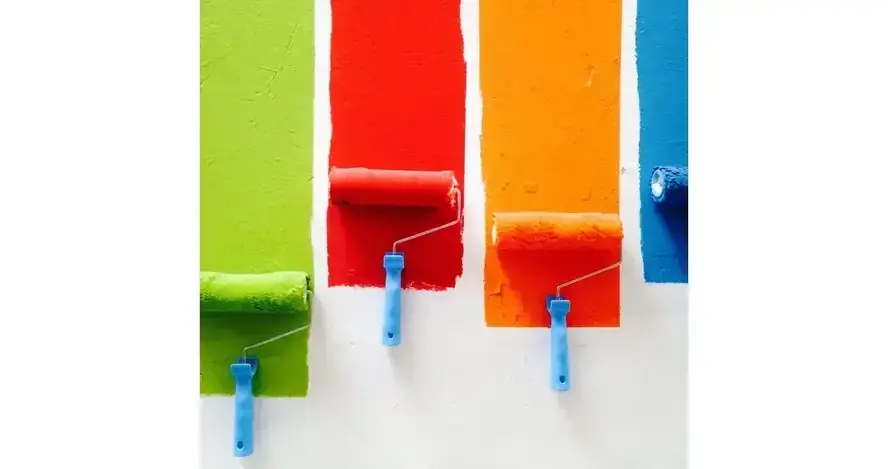
Image source: Unsplash
Or if you want to be seen as professional, you may opt for blue.
Next, think about any textures you would like to add to enhance the look of your site. Whether it's subtle gradients or geometric patterns that catch the eye, including texture can give your background a unique and polished look that really stands out from the crowd. With these simple steps, you can create a beautifully textured and colored background that perfectly sets the tone for your design project.
To add a background image, color, or texture fill to your website design in Photoshop, simply select the Layer menu and then click on New Fill Layer. From here, you can choose from a variety of different fill types, including solid colors, gradients, patterns, and even images.
Once you've selected the type of fill you want to use, simply click on the OK button and then adjust the layer properties to your liking. With a few simple clicks, you can easily add a background that really makes your site pop.
4. Create a Header
Next, you'll want to create a header for your layout. You can do this by creating a new layer and then adding a rectangle shape to the canvas.
Nex, select a background color or image for this shape.
You might want to add a logo to the header of your layout at this point. If so, simply open up the image file in Photoshop and then drag it into your document. You can resize and position the image as needed.
If you want to add some text to your header, you can use the Type tool to create a new text layer. From here, you can choose your font, color, and size as well as enter in the desired text.
You can use the guides and grid lines you previously configured to make sure the header (and all of its contents) are aligned appropriately within the full layout.
5. Add Text and Images to the Layout
To create an impactful and engaging website, it is important to add text and images that evoke emotion in the reader and draw them into your content. Whether you are sharing a new product or touting the benefits of your company, using eye-catching visuals and compelling language will help to keep visitors on your page.
With just a few simple tweaks, you can transform your website into an interactive, dynamic space that will have users coming back for more.
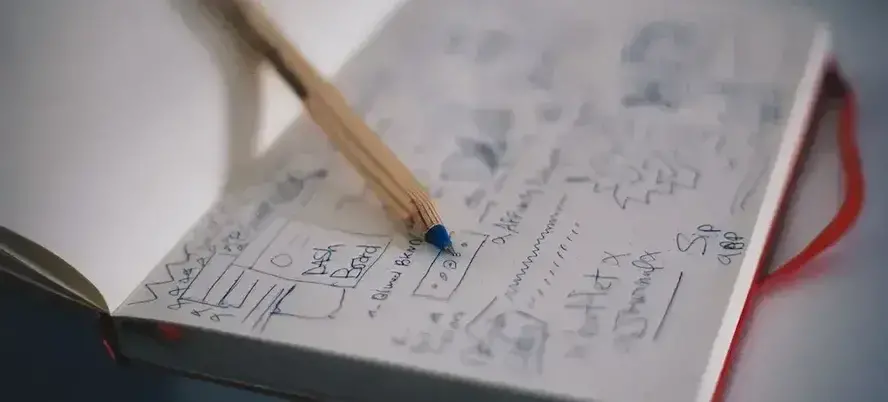
Image source: Unsplash
You can add text and images to the web layout mockup you’re creating that truly capture the essence of what you are trying to convey. Using interesting fonts and bold colors to really make your content stand out. And don't forget about incorporating multimedia elements like placeholders for videos or interactive presentations to keep things interesting.
You can add all of these elements to your Photoshop web layout by simply dragging and dropping them into place. Or, if you want more control over the placement and sizing of your elements, you can use the Transform or Free Transform options found in the Edit menu. With these powerful tools at your disposal, you can easily create a website that is both visually appealing and informative.
6. Create a Footer
Similar to the header, the footer is an important element of any website layout. The footer is often where you’d display a copyright notice, brief contact information, a mini-contact form, and social media icons.
Creating a footer in Photoshop is very similar to creating a header. Simply create a new layer and then add a rectangle shape to the bottom of your layout. Fill the background of this shape with a solid or gradient color – or you can use an image as a background, if you prefer.
Then add your desired text and images on top of this shape. You can use additional shapes to create custom icons and to designate columns or sub-sections as well. Use the gridlines and guides you created earlier to ensure the footer is centered and positioned appropriately within the overall layout.
7. Save the File as a JPEG or PNG
Once you have all of your content placed perfectly in your web layout, it's time to save the file. To do this, simply go to the File menu and then Export. In the dialog box that appears, choose either JPEG or PNG then, give your file a name and click on the Export button.
Saving your file as a JPEG or PNG will help to ensure that your images retain their quality when viewed online. And, since both of these formats are widely used on the web, you'll be able to easily share your layout with others. So, whether you're creating a website for yourself or for a client, be sure to save your file in one of these formats.
Then, the image file(s) can be used to develop the live website. But that’s a discussion for another time.
Create a Web Layout in Photoshop and Bring Your Vision to Life
By following the above tips, you can create a beautiful and professional web page layout that is sure to impress your visitors. And once you have your layout designed, you'll need a secure and reliable place to host it online. Verpex offers fast, secure web hosting plans with top-tier support so that you can rest assured knowing your website is always up and running.
So what are you waiting for? Start designing the web layout of your dreams in Photoshop. Before long, you'll be clicking Publish and delivering your vision to website visitors. And what’s not to love about that?
Frequently Asked Questions
How do I choose a design for my website?
One of the most important things when creating a website for your art is the design. Even though your pieces of art might be amazing, people will leave if your site is hard to navigate. This is why it’s important that the site is easy on the eyes and easy to navigate.
Are website builders easy to use?
One of the easiest ways to build a website is with a website builder. Using a website builder doesn't require any programming and coding skills.
How is the website maintenance carried out?
On a daily basis, software, hardware, vulnerability, MYSQL, CloudLinux paths and cPanel updates are carried out on our servers without a reboot. However, if we have to carry out any maintenance that includes some downtime, we schedule in advance and update our status page
How to design a podcast website?
When using a CMS, designing your website will be quick and easy. You can add a template you’ve created or pick one of the pre-made templates that the CMS features in its library.

Brenda Barron is a freelance writer and editor living in southern California. With over a decade of experience crafting prose for businesses of all sizes, she has a solid understanding of what it takes to capture a reader's attention.
View all posts by Brenda Barron