
There are static site builders, and there is Hugo . It’s written in Go and it’s fast. I mean, lightning fast. In this tutorial, you’re going to learn about how to build your first website using it.
The website that you’ll build will only use a fraction of the functionality available, but it will show you more than enough to start you on your journey building much larger, and more feature-rich websites.
Prerequisites
To follow along with this tutorial, you’re need to have the following:
What will you build?
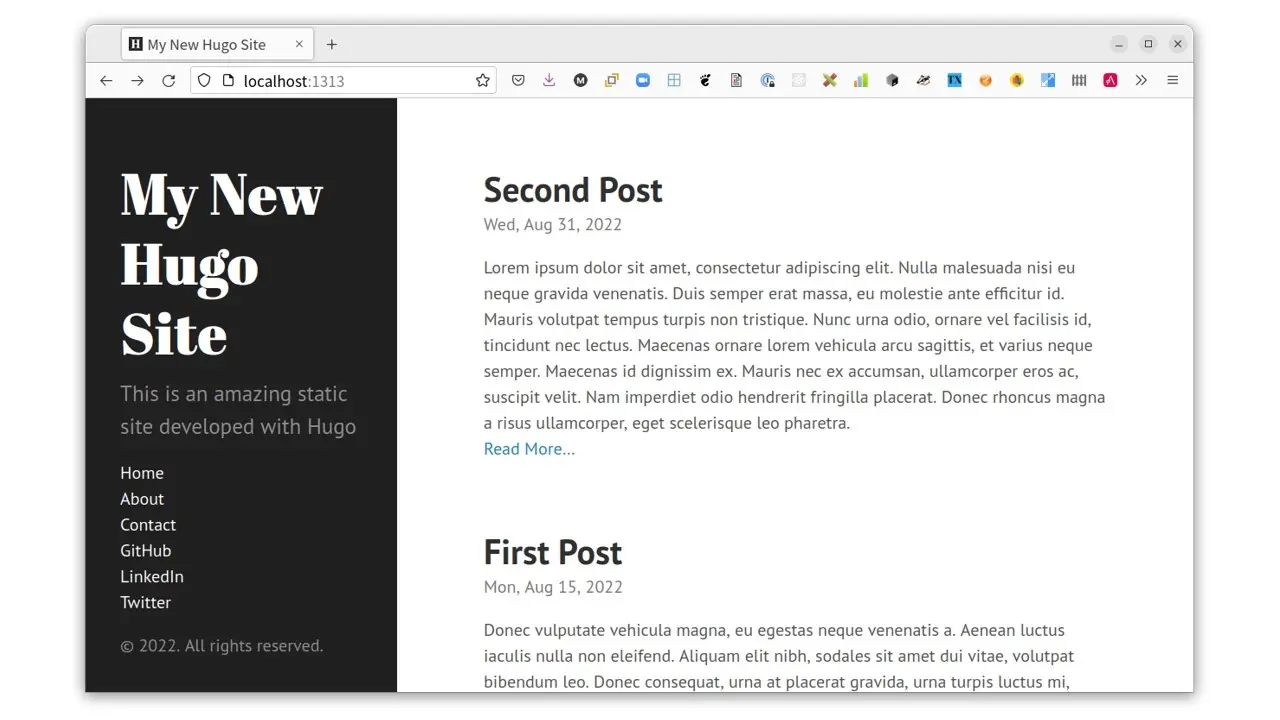
Before we start building the site, what are you going to build? The site will be a simplistic blog, along with a few standard pages, including an about page, and a contact page. When finished, the front page will look like the following.
While that may not seem like a lot, you’ll still get hands-on with the following aspects of Hugo:
The Hugo CLI tool
Site configuration
Site structure
Templating
Themes
Let’s begin.
Generate a new Hugo site shell
The first thing to do is to generate a basic Hugo website (the core file and directory structure). To do that and change into the newly created directory, in your terminal run the command below.
bash
hugo new site test-site
cd test-site
When the command completes, you should see output similar to that below in your terminal.
bash
Congratulations! Your new Hugo site is created in /opt/workspace/hugo-site.

Just a few more steps and you're ready to go:

1. Download a theme into the same-named folder. Choose a theme from https://themes.gohugo.io/ or create your own with the "hugo new theme <THEMENAME>" command.

2. Perhaps you want to add some content. You can add single files
   with "hugo new <SECTIONNAME>/<FILENAME>.<FORMAT>".

3. Start the built-in live server via "hugo server".

Visit https://gohugo.io/ for quickstart guide and full documentation.
By having a quick read through the output, you can see two key things:
The site’s been generated in
/opt/workspace/hugo-site. Your location will be different, based on the location that you ran the command from.Before you can view the website, you need to:
Download and enable a theme.
Create some content, ideally blog content and some supporting pages
Deploy the site locally
Before you do that, have a quick look at the site’s structure to familiarise yourself with it. It will come in handy later. In the terminal, if you print the file and directory structure, by running a command such as tree, it would look as follows.
bash
.
├── archetypes
│   └── default.md
├── config.toml
├── content
├── data
├── layouts
├── static
└── themes
There’s a bit to take in, so the important things to take note of are the following:
config.toml
This is Hugo’s core configuration file. By default it’s written in TOML format. But Hugo also supports Yaml and JSON.content
This directory contains all of the content for your site, such as blog posts, about, contact and other pages.layouts
This directory contains the layouts. In Hugo, pages are broken into two parts. The outer template contains content which remains the same across requests, such as the page’s header, footer, and navigation elements, and the content that is unique to a given page, such as a blog post’s content. This directory also contains theme overrides. We’ll come to that later.static
This directory, as the name suggests, contains all of the website’s static assets, such as images.themes
This directory contains one or more themes. You can download a free theme, or create your own.
Configure the Hugo site
Next, it’s time to configure the site. Open config.toml, located in the top-level directory of the site. It should look like the example below.
toml
baseURL = 'http://example.org/'
languageCode = 'en-us'
title = 'A Test Hugo Site'
Change these settings as you see fit. I recommend changing the title.
Deploy the Hugo site locally
With that done, it’s time to start the site, or deploy it locally. To do that, run the command below.
bash
hugo server
Slightly paraphrasing the documentation:
hugo server starts a high performance webserver which builds and serves the site
After it completes, you should see output similar to the following in the terminal.
bash
Start building sites …
hugo v0.92.2+extended linux/amd64 BuildDate=2022-02-23T16:47:50Z VendorInfo=ubuntu:0.92.2-1

               	| EN
-------------------+-----
  Pages        	|  0
  Paginator pages  |  0
  Non-page files   |  0
  Static files 	|  6
  Processed images |  0
  Aliases      	|  0
  Sitemaps     	|  1
  Cleaned      	|  0

Built in 9 ms
Watching for changes in /opt/workspace/hugo-site/{archetypes,content,data,layouts,static,themes}
Watching for config changes in /opt/workspace/hugo-site/config.toml
Environment: "development"
Serving pages from memory
Running in Fast Render Mode. For full rebuilds on change: hugo server --disableFastRender
Web Server is available at http://localhost:1313/ (bind address 127.0.0.1)
Press Ctrl+C to stop
If you scan through the command’s output, you’ll see that the site was generated in 9 milliseconds, how many different files were involved (6 static files and 1 sitemap) that the new site is available on http://localhost:1313/ and that if you make any changes in /opt/workspace/hugo-site/{archetypes,content,data,layouts,static,themes} or /opt/workspace/hugo-site/config.toml, that a new version of the site will be generated.
Sadly, however, if you open http://localhost:1313/ in your browser of choice, you won’t see a lot. You won’t see anything, actually, as you don’t have a theme installed.

Add a Hugo site theme
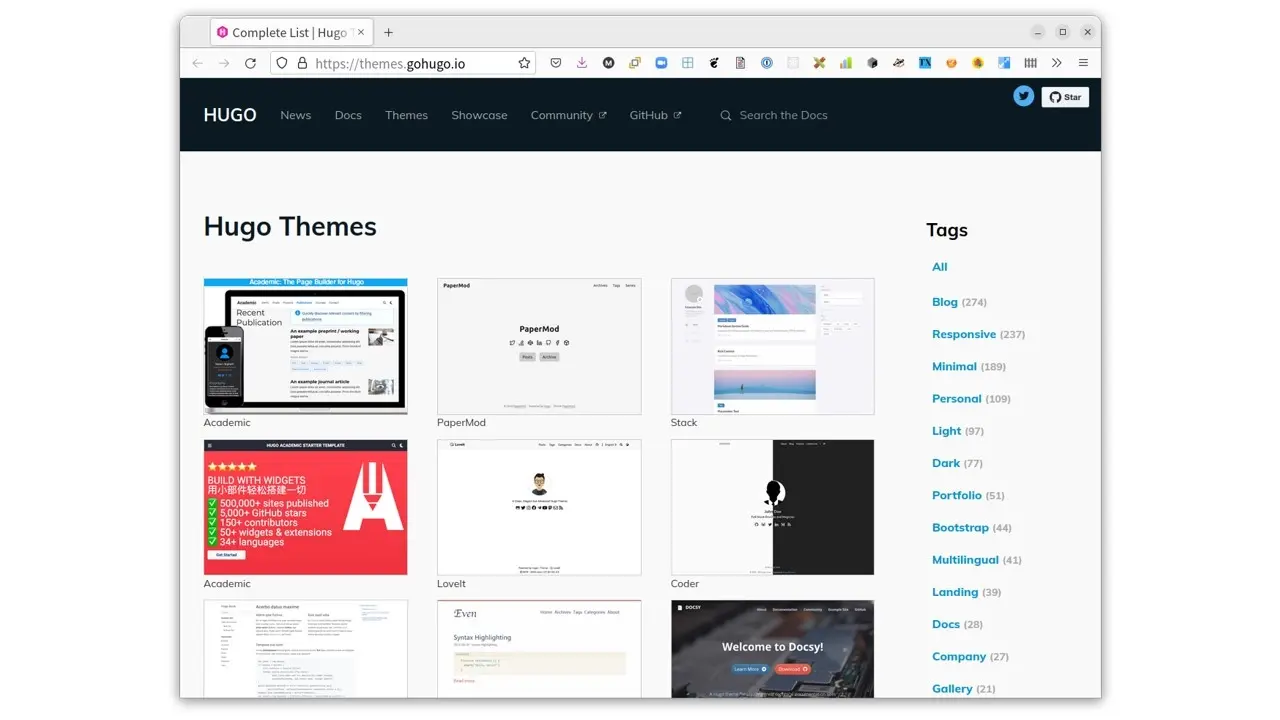
Now, what you need to do is to download one of the free themes and tell Hugo to use it. After having a good look through the available themes aimed at blogs, the one that seemed most applicable was hyde.
To install it, in a new terminal session, run the command below from the top-level project directory.
bash
git clone https://github.com/spf13/hyde.git themes/hyde
Next, enable the theme by adding the following configuration to config.toml.
toml
theme = 'hyde'
If you have a look in the original terminal window, you should see that the site’s been rebuilt. Given that, reload the site in your browser, where you should see it look like the screenshot below.
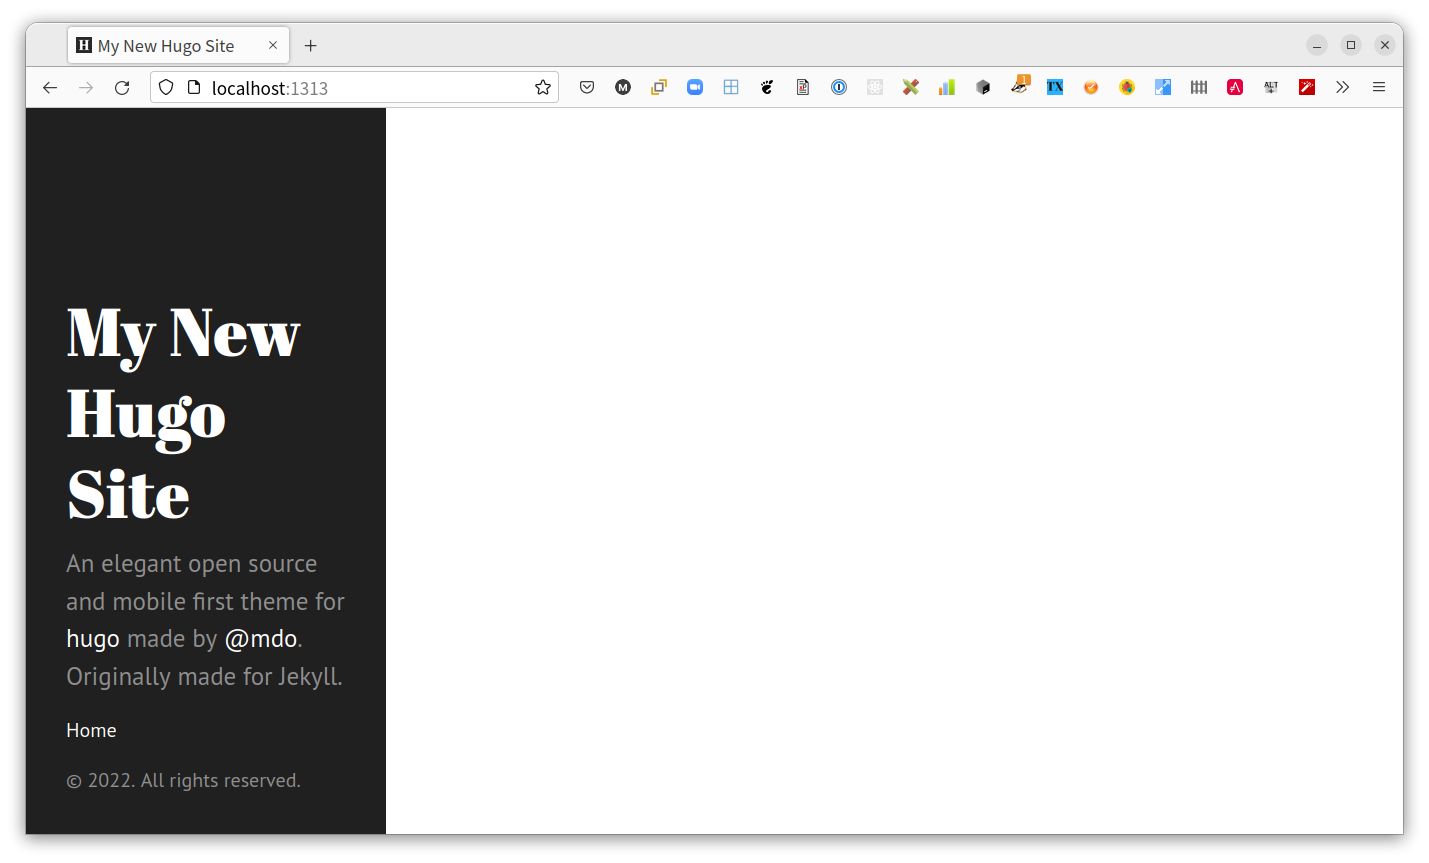
It’s not too interesting, yet, but it’s rapidly taking shape. The next thing to do is to add some links in the left-hand side navigation menu. Currently, near the bottom, is one link “Home”. Now, add three more links, one to your Twitter account, GitHub, and LinkedIn accounts. If you don’t have one or the other, feel free to choose different links to add.
To do this, add the following TOML code to the bottom of config.toml, replacing username in each of them with your username.
toml
[Menus]
    main = [
        {Name = "GitHub", URL = "https://github.com/username/"},
        {Name = "Twitter", URL = "https://twitter.com/username"},
        {Name = "LinkedIn", URL = "https://www.linkedin.com/in/username/"}
    ]
Then, change the site description, under “My New Hugo Site” to something better. Do that by adding the following after the theme element in config.toml. Change the value to whatever you prefer.
toml
[params]
    description = "This is an amazing static site developed with Hugo"
Create your first blog posts
The next thing you need to do is to create two blog posts. To do that, run the following commands.
bash
hugo new post/first-post.md
hugo new post/second-post.md
These commands generate two new Markdown files, named first-post.md and second-post.md in the content/post directory. If you look in content/post/first-post.md, it should look similar to the following example.
markdown
---
title: "First Post"
date: 2022-08-20T13:53:12+02:00
draft: true
---
There, between the two triple hyphens is the Yaml frontmatter or file metadata. This is what Hugo uses to determine when to publish the post, if it should publish the post, and the post’s title, among other things. The important thing in this example is that the post is marked as a draft. So, if you view the site, it won’t be visible.
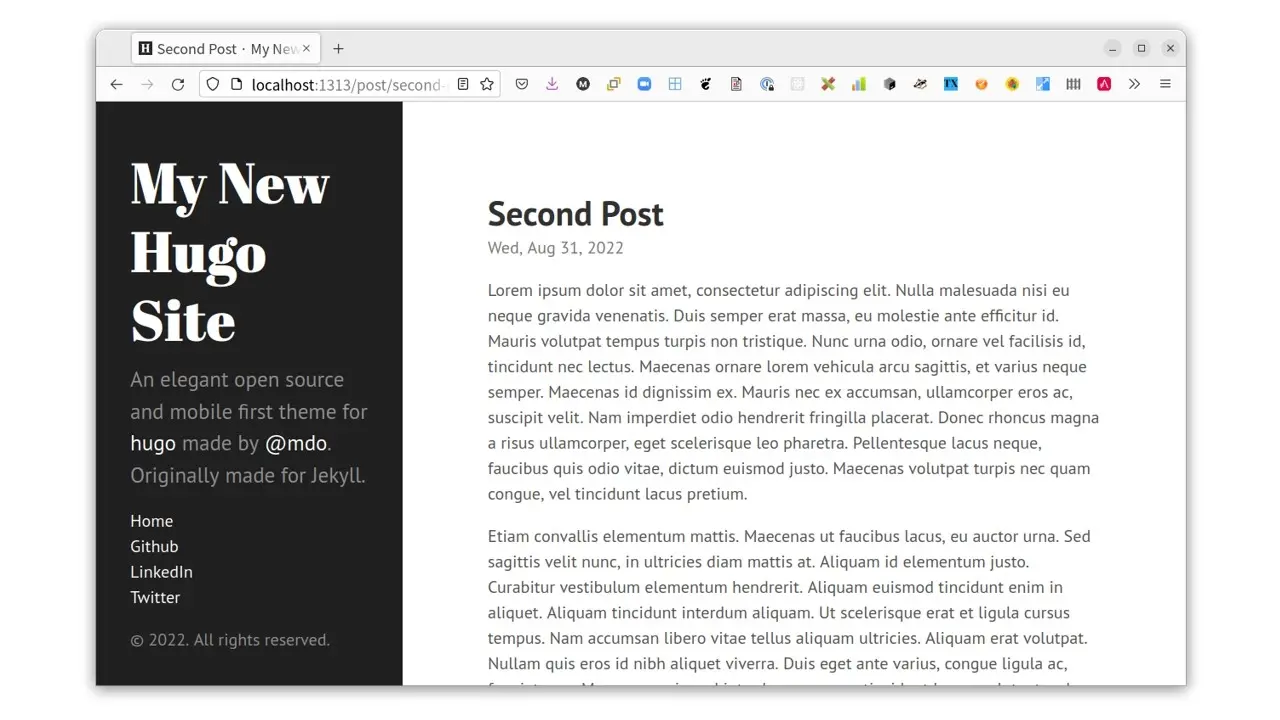
Change the value of draft in both posts to false and add some Markdown after the frontmatter. If you’re stuck for something to say, use the Lipsum Generator to generate fake content and paste it at the end of the file. Finally, change the date of the first post to be a week prior to the second post. That way, it will take on the appearance of a well updated blog.
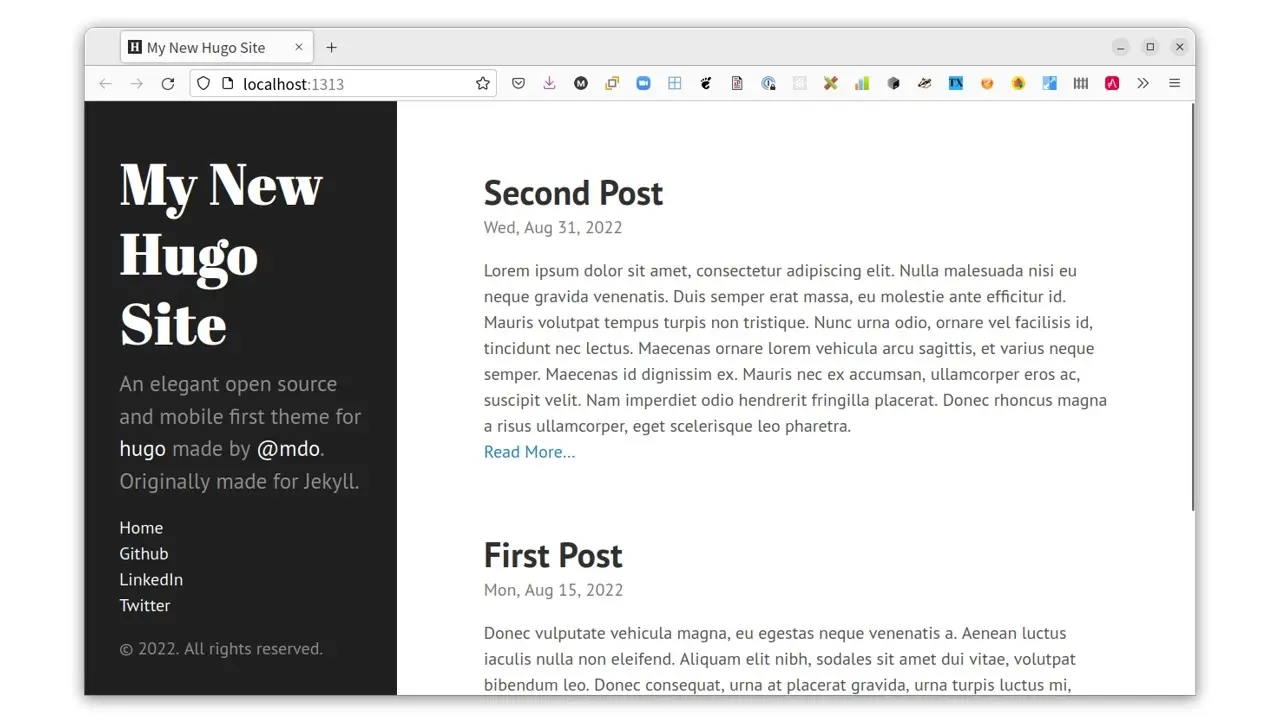
After you do that and save the file, you’ll see that on the site’s home page, the first post’s title appears. If you click on the post’s title, or the “Read More…” link following the post, you’ll be taken to the full post.
Add some site pages
The next thing to do is to add some supporting pages, About and Contact, as mentioned earlier. To do that, run the following commands:
bash
hugo new page/about.md
hugo new post/contact.md
Note that the commands used to create the pages are almost identical to creating posts. That’s because, slightly paraphrasing the hugo new command’s documentation:
Creates a new content file and automatically sets the date and title.
There’s a lot more to the command. So have a look at its documentation by running hugo new --help or on the Hugo website if you’re curious.
Next, in content/page/about.md set draft to false and add the following text.
markdown
Welcome to the website.

If you’re looking to learn more about the site, then you’ve come to the right place.
Then, in content/page/contact.md set draft to false and add the following text.
markdown
You can contact using one of the following methods:

123 Anywhere St
Anywhere Town
12345 CA
USA

- [email protected]
- https://twitter.com/ourwebsite
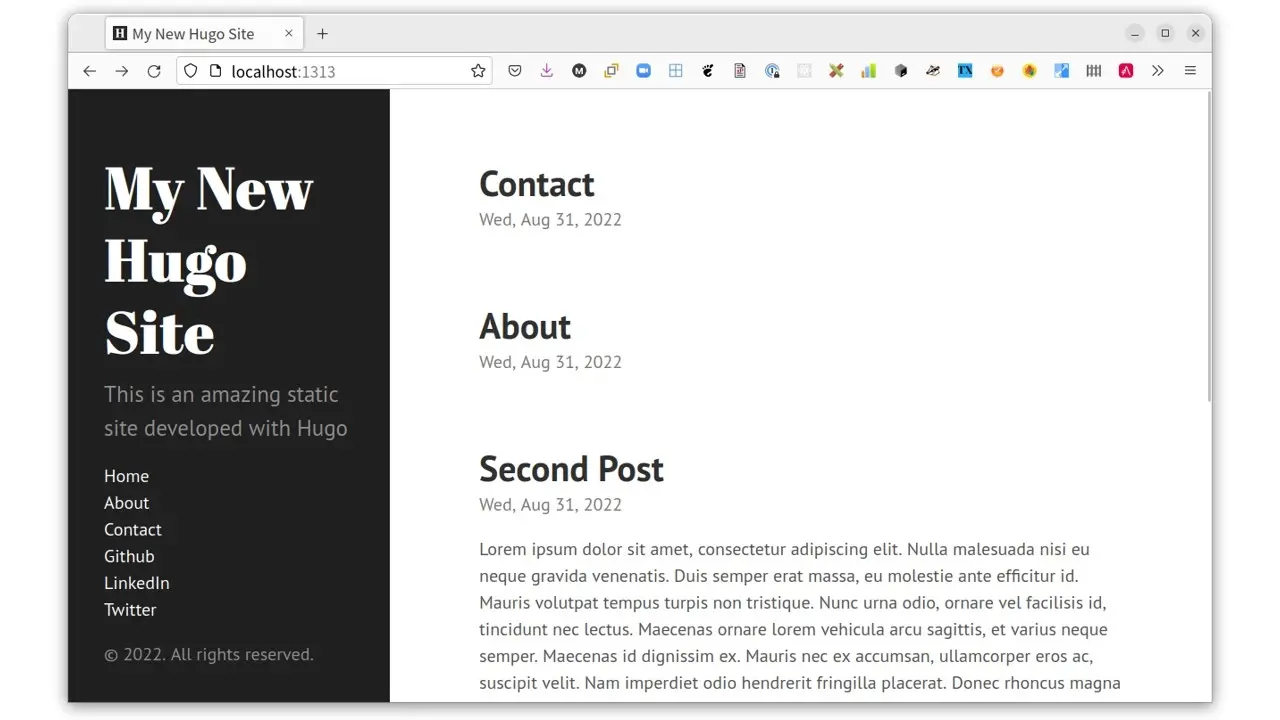
Now that the content for both pages has been added, if you look at the site, which you can see in the screenshot above, you’ll see that the pages render in the list with the posts.
That doesn’t make the most sense, and isn’t a common convention. Let’s fix that by removing them from the main listing, adding links to them in the left-hand side navigation bar instead.
To do that, in config.toml add the configuration below before the GitHub link.
toml
{Name = "About", URL = "/about/"},
{Name = "Contact", URL = "/contact/"},
Next, copy themes/hyde/layouts/index.html to the layouts directory in the top-level directory of the project. Then, update line three that starts with range to match the following.
go
range where .Site.RegularPages "Section" "post"
That change has achieved two essentials steps:
You’ve overridden the theme’s homepage template, but without preventing or breaking future upgrades to the theme.
You’ve filtered the content rendered in the homepage template. Originally, a combination of both posts and pages was rendered. Now, using the template where filter only content in the the content/post directory is rendered.
I appreciate that – especially if this is your first time working with Hugo – that’s quite a bit to take in. Please take your time and work through the links in the previous paragraph. While tough, it’s an exciting opportunity to dive deep into Hugo.
At this point, if you look at the site again it will look like the screenshot below.
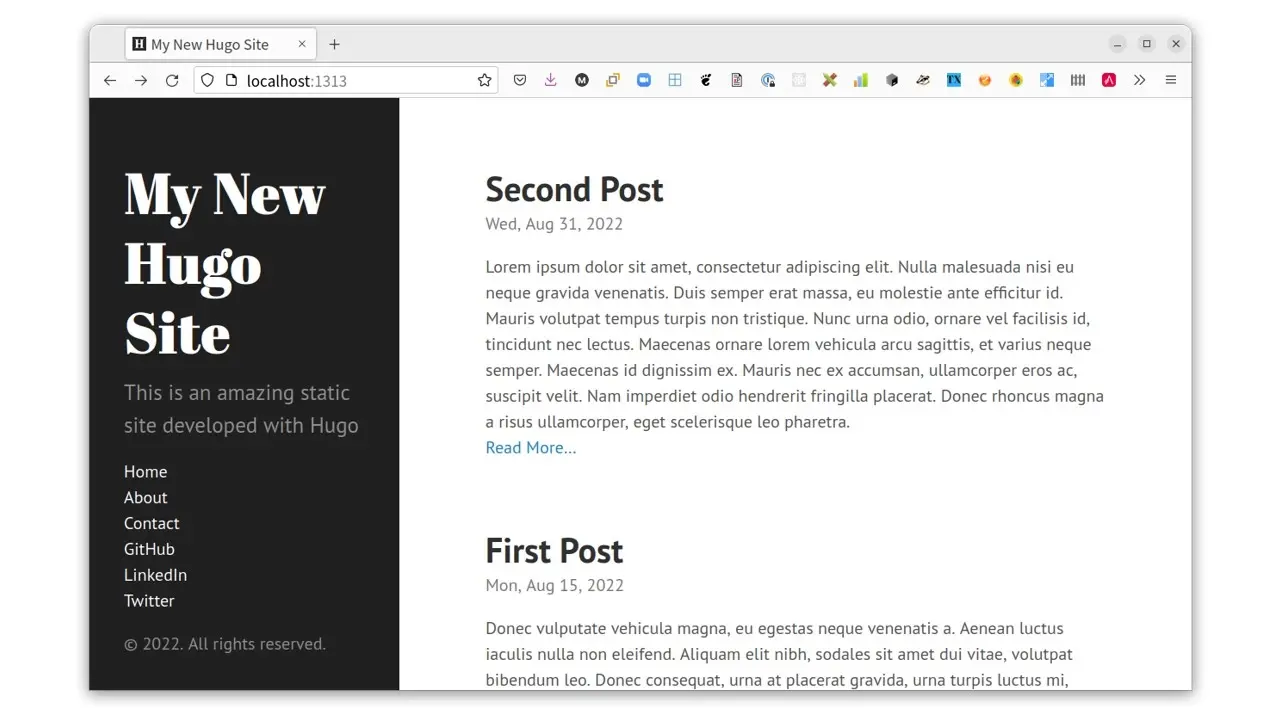
That’s the essentials of how to build a website with Hugo
While there is far more that Hugo can do than what I have covered in this tutorial, you now know the essentials and can start building ever more complex and sophisticated sites.
If you are not sure where to go from here, I recommend diving deeper into Hugo templates, so that you can render whatever you need to in your site, and customising themes, so that you can make them look exactly like you want/need them to. Actually, have a look at creating custom themes, so that you’re not dependent on other people’s themes.
Frequently Asked Questions
Can I afford a website builder?
Yes. Besides paid website builders, there are also free ones; however, they come with fewer options.
Are website builders easy to use?
One of the easiest ways to build a website is with a website builder. Using a website builder doesn't require any programming and coding skills.
What are the best web builder tools?
Some of the best web builder tools are Wix, Squarespace, Weebly, Webnode, Webflow, Jimdo, Duda, GoDaddy Websites, Strikingly, Site123, Webstarts, and much more!
What are the hosting options with a website builder?
Most website builders offer a free plan with a free domain, but your name will go after the company's name. To get any address you like, you will need to purchase the domain name on your own.

I’m a software developer with over 15 years of experience, designing, developing, and deploying web-based applications. I’m also an experienced online educator, technical writer, and trainer, having written over 150 articles, published 3 books and 6 online courses, and launched two podcasts in the last ten years. The author of Mezzio Essentials and Deploy With Docker Compose.
View all posts by Matthew Setter


