Setting up Google MX Records from your cPanel
MX Record is a type of DNS record which rules where your domain’s email should be pointed. If you are using Google Workspace (or previously known as GSuite) for your emails, this article should help: https://support.google.com/a/answer/140034?hl=en
This tutorial below, however, is provided for those that need a step-by-step guide on how to apply Google custom MX records on their cPanel area.
- Log in to your cPanel dashboard and type in Zone Editor on the top right search bar.

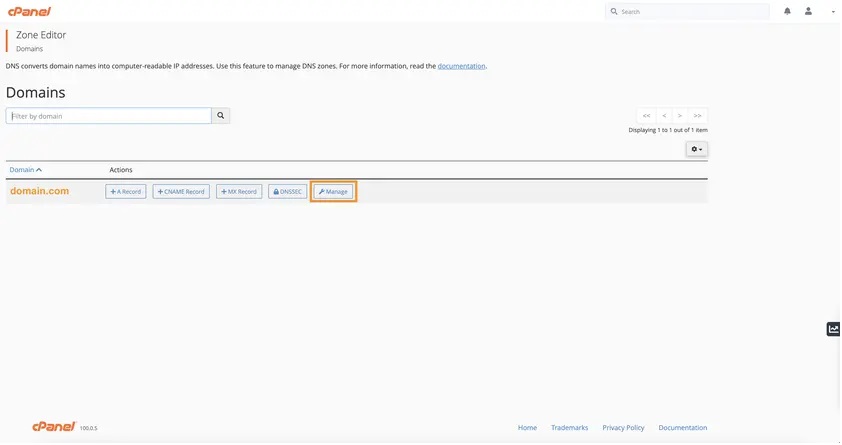
- Once the Zone Editor opens, find the domain that you wish to install the Google MX record to. Then click on Manage.
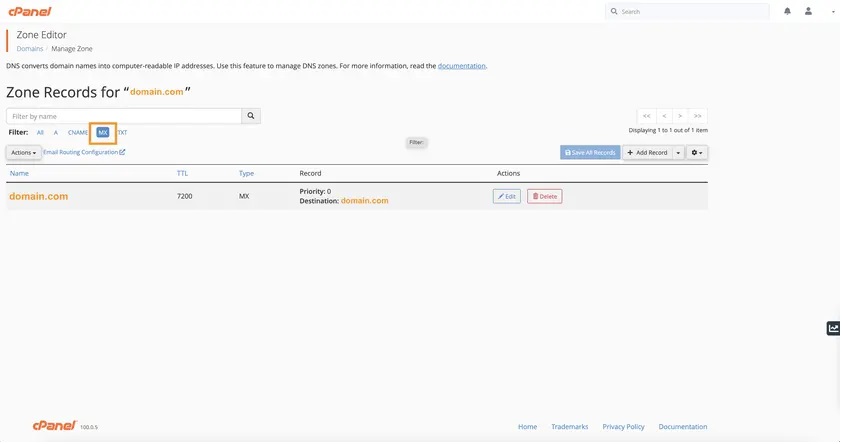
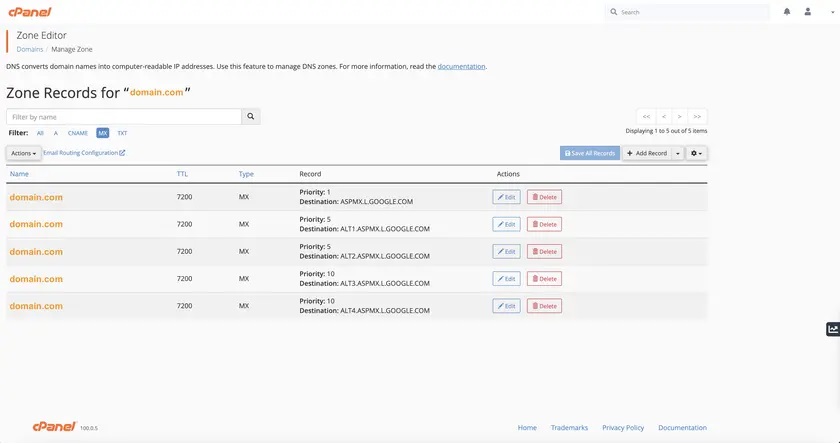
- You will then see the list of all of your DNS records. In this case, go ahead and filter the records by clicking the MX tab.
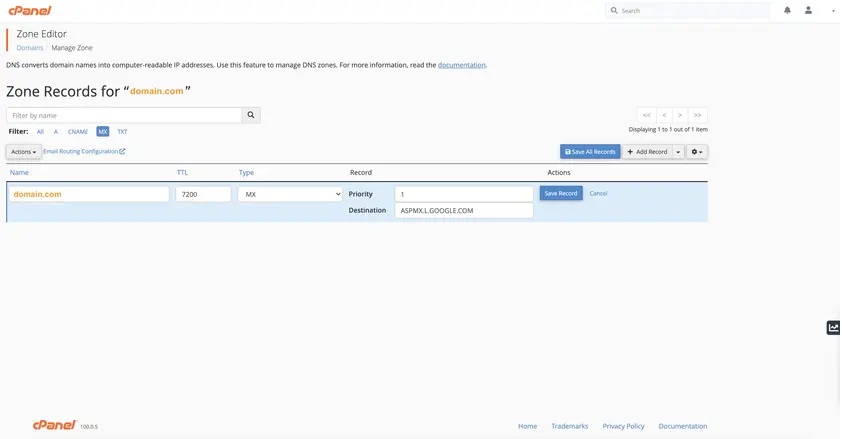
- You can edit the existing MX record to be the first Google MX record and set the value as ASPMX.L.GOOGLE.COM, as shown on the screenshot below.
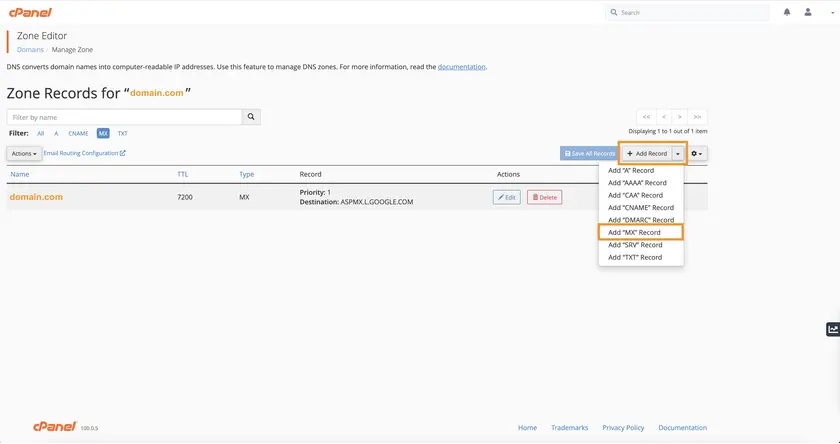
- Next you can add 4 more MX records and assign each of them to ALT1.ASPMX.L.GOOGLE.COM (priority 5), ALT2.ASPMX.L.GOOGLE.COM (priority 5), ALT3.ASPMX.L.GOOGLE.COM (priority 10), ALT4.ASPMX.L.GOOGLE.COM (priority 10). The name field should remain your domain name.
- This should be the final look of your MX records in your cPanel Zone Editor.
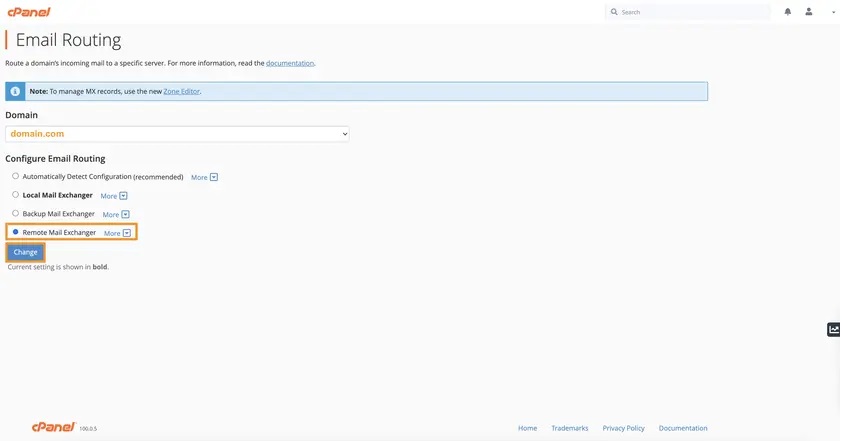
- Once the MX records are sorted, you now need to make sure that all emails for your domain will be redirected to an external server instead of the local server. So type in “Email Routing” on the top right search bar and click on the option shown.

- Next select the correct domain on the drop down menu and then make sure to set the Remote Mail Exchanger and click the Change button.
Normally, you will then be able to send and receive emails from your Google Workspace account in the next 6 hours or so. However, on certain occasions, it can take up to 48-72 hours for the DNS change to fully propagate and, unfortunately, you will need to wait just a bit longer.
Updated over 1 year ago